
Applying a Shape
You can apply a shape to an existing button or drop zone (or group of buttons or drop
zones) on a menu, or you can create a new button when you apply the shape. The method
you use to apply the shape (use the Apply button or drag the shapes) determines what
you are able to do.
Shapes are sorted into three groups:
• Apple: The shapes provided by DVD Studio Pro. These are available to all projects.
Note: Not all shapes supplied with DVD Studio Pro support highlights. Some are
intended to be used only with drop zones and do not include the highlight layer used
by buttons.
• Custom: The shapes you import and designate as available to all projects created on
this system
• Project: The shapes you import for use only in this project. These will not appear when
you are working on other projects.
The Shapes tab in the Palette includes buttons so that you can choose which of these
groups of shapes to view.
To apply a shape using the Apply button
1
In the Palette, select the shape’s group (Apple, Custom, or Project), then select the shape
you want to apply.
2
In the Menu Editor, do one of the following:
• To apply the shape to an existing button or drop zone: Select the button or drop zone.
• To apply the shape to a group of buttons or drop zones: Select the buttons or drop zones
by holding down the Shift key while clicking them.
3
Click Apply.
The shape is applied to the selected items.
Note: The Apply button is disabled if you select more than one shape in the Palette. You
cannot create a new button or drop zone using the Apply button.
To apply a shape by dragging
1
In the Palette, select the shape’s group (Apple, Custom, or Project) so that the shape’s
thumbnail appears.
2
Drag the shape from the Palette to the Menu Editor, then do one of the following:
• To apply the shape to an existing button or drop zone: Drag the shape to it.
• To create a new button or drop zone: Drag the shape to an empty area of the menu and
when the Drop Palette appears, choose either Create Button or Create Drop Zone.
330
Chapter 14
Using Templates, Styles, and Shapes to Create Your Menus
Note: You cannot apply the shape to multiple existing buttons or drop zones by dragging.
To assign a shape in the Button Inspector
1
In the Menu Editor, select the button to which you want to apply the shape.
2
Click the Style tab in the Button Inspector.
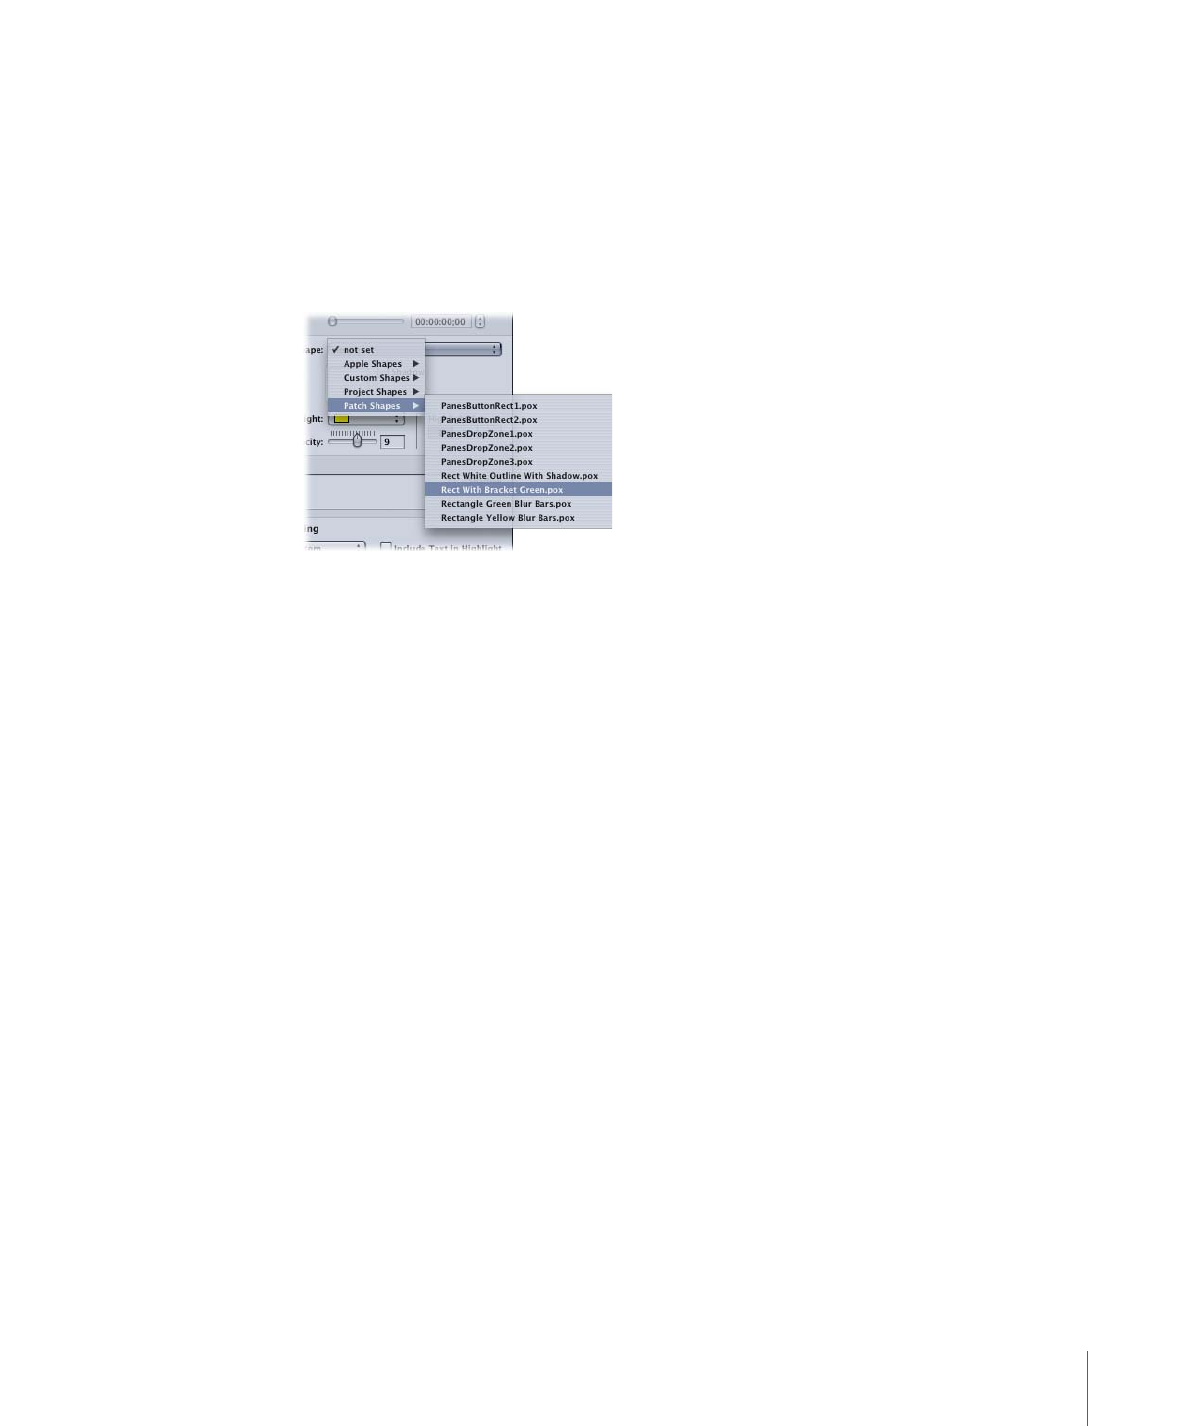
3
Choose a shape group from the Shape pop-up menu, then choose the shape to use from
the submenu.
A thumbnail of the shape appears in the Button Inspector and the shape is applied to
the button.
When you create a new button by dragging a shape to the Menu Editor, the shape is
added to the menu at its actual size. This can be important if you intend your shapes to
be a specific size when used on a menu. (When shapes are applied to an existing button,
they are squeezed to fit it, which can distort it significantly.)