
Adding Text Objects to a Menu
You can type text directly onto a menu’s background, creating a text object. When you
build the project, this text object merges with the background—it cannot be selected
by the viewer or have jump actions assigned to it.
A text object can contain characters with different colors, fonts, and sizes. The Text pane
in DVD Studio Pro Preferences contains settings that define the text font and color used
when you create new text objects. You can change the text font and color after you have
typed it.
Text objects can also be rotated and have the menu’s drop shadow applied.
288
Chapter 13
Creating Menus Using the Standard Method

To add a text object to a menu
1
Double-click the menu where you want to add a text object. You will be able to move
the object later, so the actual position is not critical.
2
Start typing the text. As you type, the text appears on the menu, with a handle on each
end. To create a new line, press the Return key, or press Enter to exit the text entry mode.
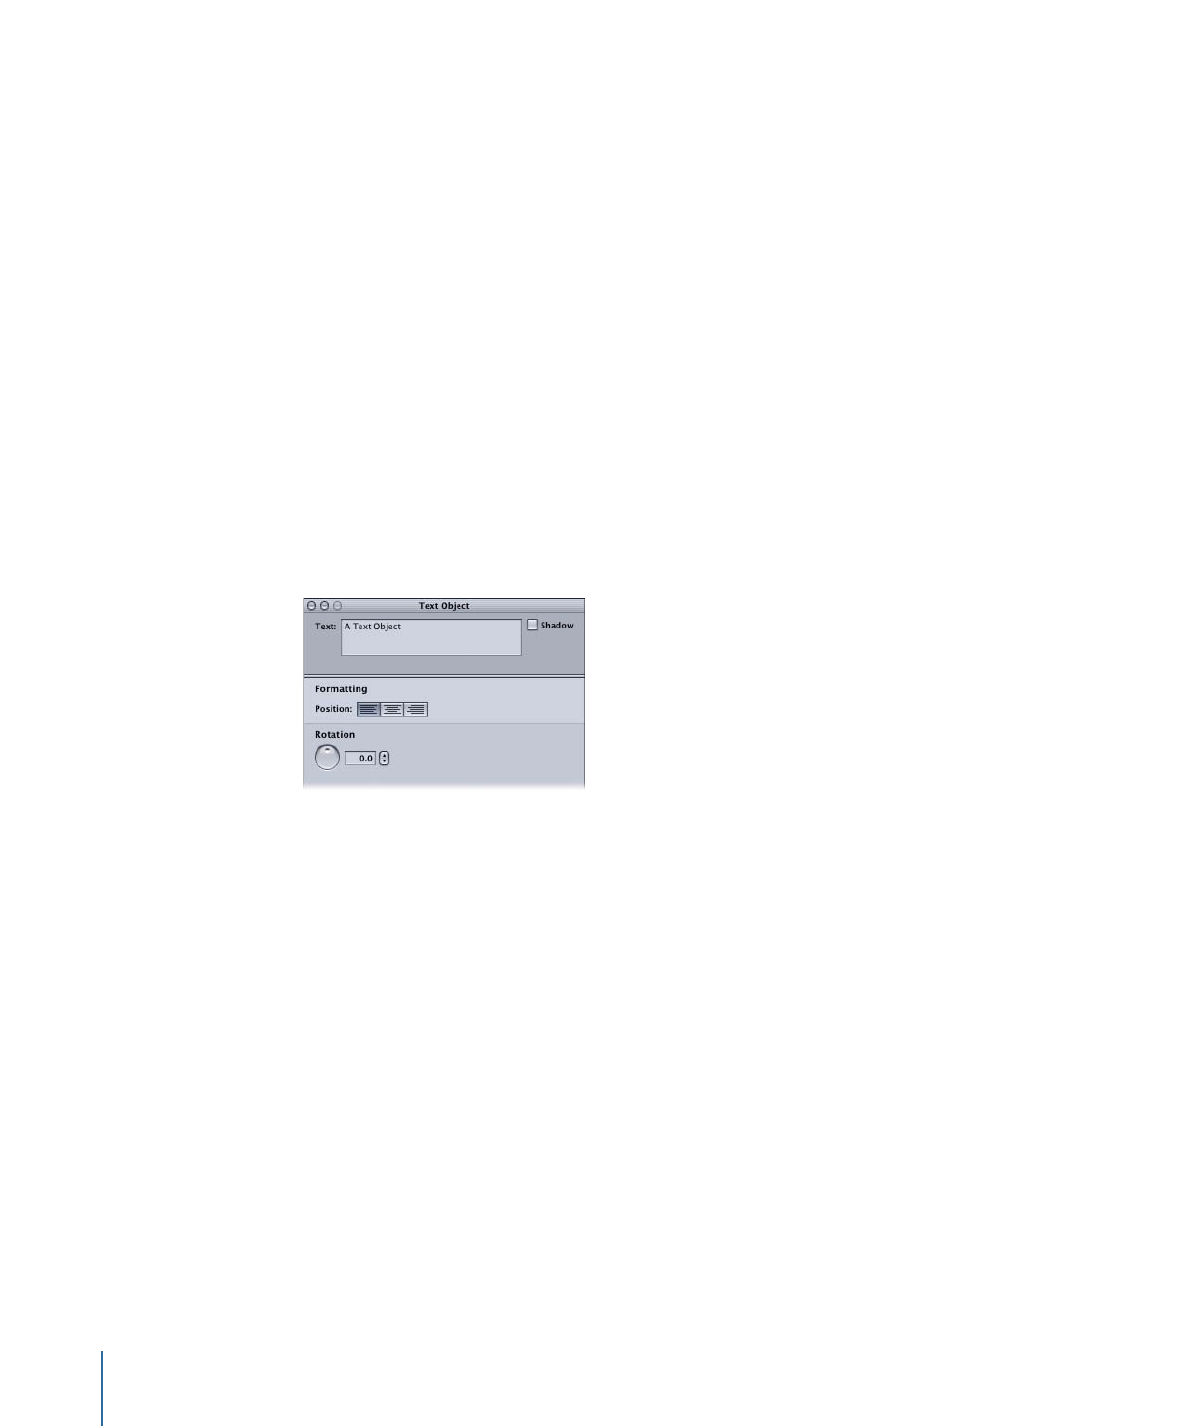
The Text Object Inspector appears.
Note: You can also type the text in the Text entry area in the Text Object Inspector, and
use either Return or Enter to create a new line.
3
Click the Shadow checkbox to add the menu’s drop shadow to the text.
4
To change the text’s justification, do one of the following:
• Click the appropriate button in the Text Object Inspector.
• Press Command–Shift–Left Bracket ([) to left align the text.
• Press Command–Shift–Right Bracket (]) to right align the text.
• Press Command-Shift-Backslash (\) to center the text.
5
Rotate the Rotation knob or enter a value to rotate the text object.
You can reposition the text object by dragging the text to a new position. (If you are in
the text edit mode with the blinking insertion point showing in the Menu Editor, you
need to click an empty area of the Menu Editor to exit the text edit mode before you can
drag the text object to a new position.)
To change the text object’s font and color
1
Select the text you want to change.
2
Do one of the following to open the Font panel:
• Choose Format > Font > Show Fonts (or press Command-T).
• Click Fonts in the toolbar.
3
Choose the font and size to use.
Note: If you open a DVD Studio Pro project that uses a font that is not on the computer
you are opening it on (either because the font was deleted or the project was created
on a different computer), any items using the missing font have a different font substituted
with no warning.
4
Do one of the following to open the Colors window:
• Choose Format > Font > Show Colors (or press Command-Shift-C).
• Click Colors in the toolbar.
289
Chapter 13
Creating Menus Using the Standard Method
5
Choose the color to use.
You can also add bold, italic, and underline attributes to the text.
Note: The bold and italic attributes are available only if the current font supports them.
To apply bold, italic, and underline attributes
1
Select the text you want to change.
2
Choose Format > Font > Bold (or press Command-B) to add the bold attribute.
3
Choose Format > Font > Italic (or press Command-I) to add the italic attribute.
4
Choose Format > Font > Underline (or press Command-U) to add the underline attribute.
By selecting different parts of the text, you can mix different fonts, colors, and attributes
in the same text object.