Creating and Editing Markers
Each track always contains a chapter marker at its beginning. You can add up to 98
additional chapter markers to a track.
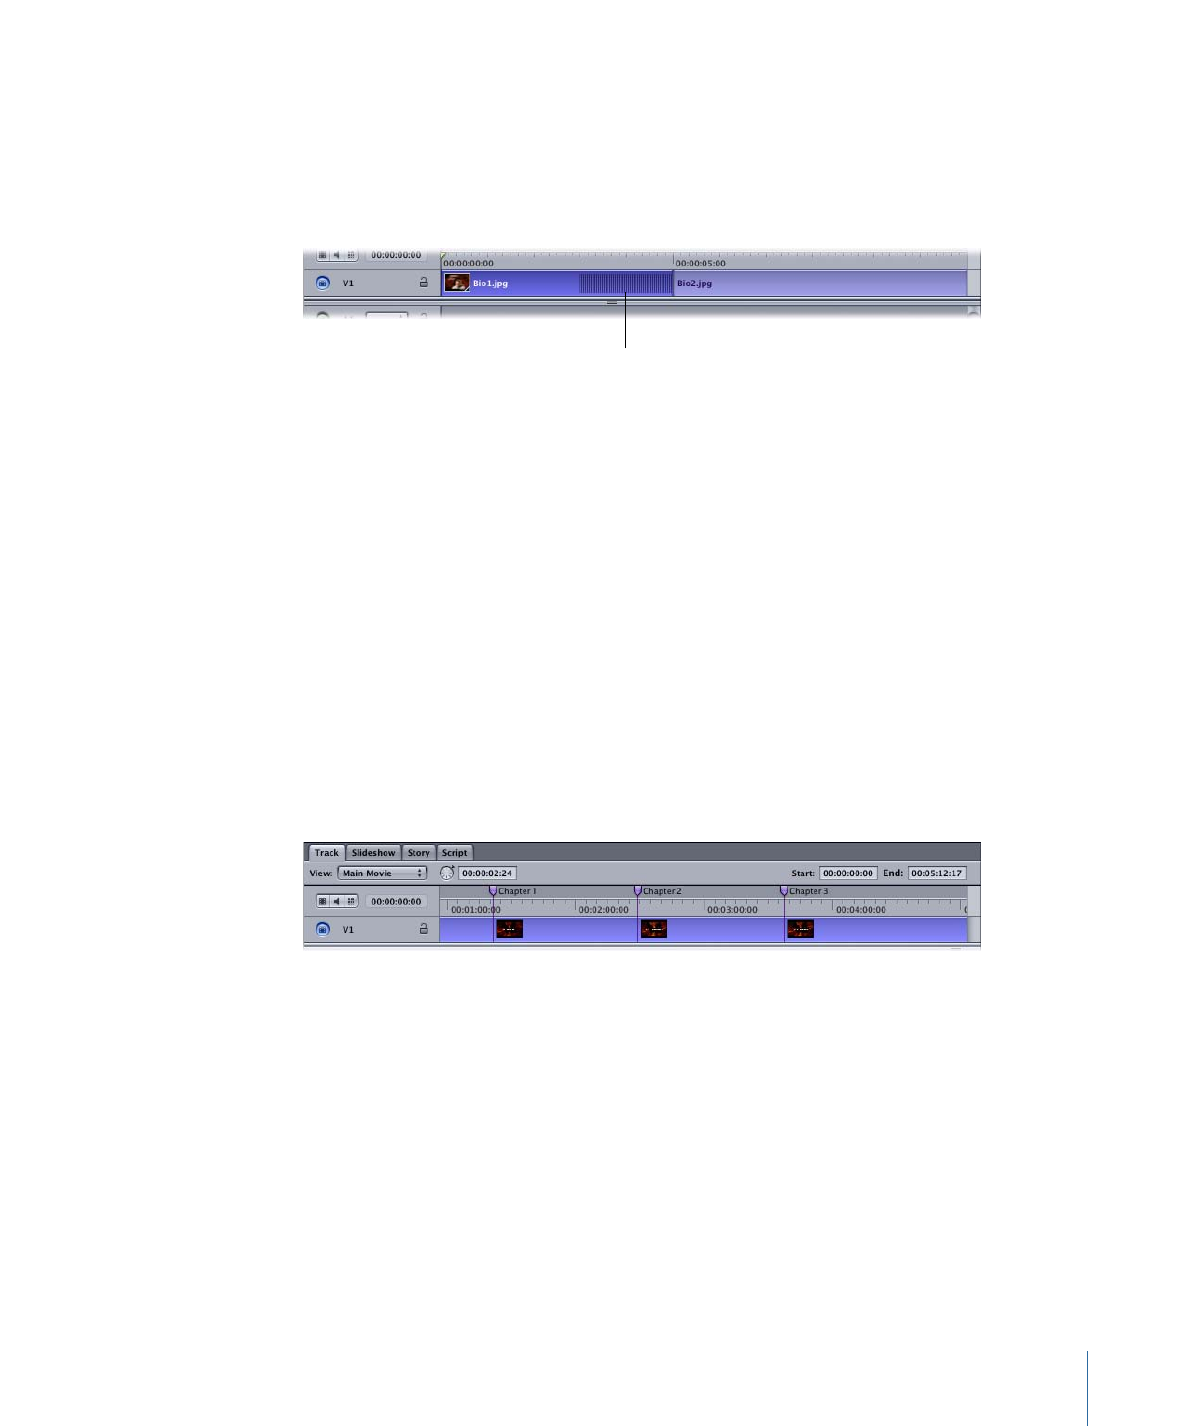
Markers appear along the top of the timeline display. A vertical line extends across all
streams at the position of each marker.
To add a marker to a track
Do one of the following:
µ
Click in the area above the timeline display. A marker is added at the point where you
clicked.
µ
Position the playhead at the point where you want to add the marker, then press M.
By default, the marker is set to be a chapter marker and is purple. See
About the Marker
Types
for more information about the marker types.
395
Chapter 17
Creating and Editing Tracks

Depending on the currently selected stream size, a thumbnail image of the frame located
at the marker point appears in the video stream. You can modify the thumbnail image
in the Marker Inspector. See
Setting Marker Properties
for more information.
The default marker’s name is “Chapter _,” with “_” being the next number available. The
number is based on the order in which you create the markers, not on their location on
the track. This means Chapter 4 may occur before Chapter 2. To avoid confusion, you
should rename your markers in the Marker Inspector. See
Setting Marker Properties
for
more information. The Track pane in DVD Studio Pro Preferences contains a setting you
can use to control the names assigned to markers as they are created. See
Track
Preferences
for more information.
When you have multiple clips in the V1 stream, you can also have markers placed at a
stream’s clip end (except for the last clip).
To add a marker to a clip’s end
µ
Control-click the clip in the V1 stream to base the marker on, then choose Add Marker
to Clip End from the shortcut menu to add a cell marker, or Add Chapter to Clip End to
add a chapter marker.
You cannot add a marker to the end of the last clip in the V1 stream. See
About the Marker
Types
for information on the difference between a cell marker and a chapter marker.
To set the playhead to a marker’s position
µ
Control-click the marker, then choose Set Playhead Here from the shortcut menu.
This makes it easier to see the video at the marker’s position. You can also hold down
the Control key and use the Left Arrow and Right Arrow keys to jump from marker to
marker.
To move a marker
Do one of the following:
µ
Drag the marker to its new position. The timecode of the marker’s position appears next
to the pointer timecode display as you move it.
µ
Enter a new time in one of the timecode boxes (zero-based or asset-based) in the Marker
Inspector. See
Setting Marker Properties
for more information.
µ
Drag the slider underneath the video thumbnail in the Marker Inspector.
When you move a marker, the thumbnail image in the video stream changes to match
the marker’s new location.
To delete a marker
Do one of the following:
µ
Control-click the marker, then choose Delete Marker from the shortcut menu.
396
Chapter 17
Creating and Editing Tracks

µ
Select the marker, then press the Delete key.
To delete all markers
Do one of the following:
µ
Choose Edit > Delete All Markers.
µ
Control-click in an empty part of the Track Editor’s marker area, then choose Delete All
Markers from the shortcut menu.