Configuring the Interface
To make it easy to change between different configurations of the DVD Studio Pro
interface, DVD Studio Pro lets you save each configuration. For example, once you
configure the quadrants so they are optimized for creating subtitles, you can save that
configuration for easy recall later.
Each configuration includes:
• The current arrangement of the quadrants, including their sizes, the tabs assigned to
them, and the tab that is currently visible
• Any tabs that have been torn off into separate windows. See
Tearing Off a Tab into Its
Own Window
for more information.
• The tools in the toolbar
• The column configuration in the Assets tab
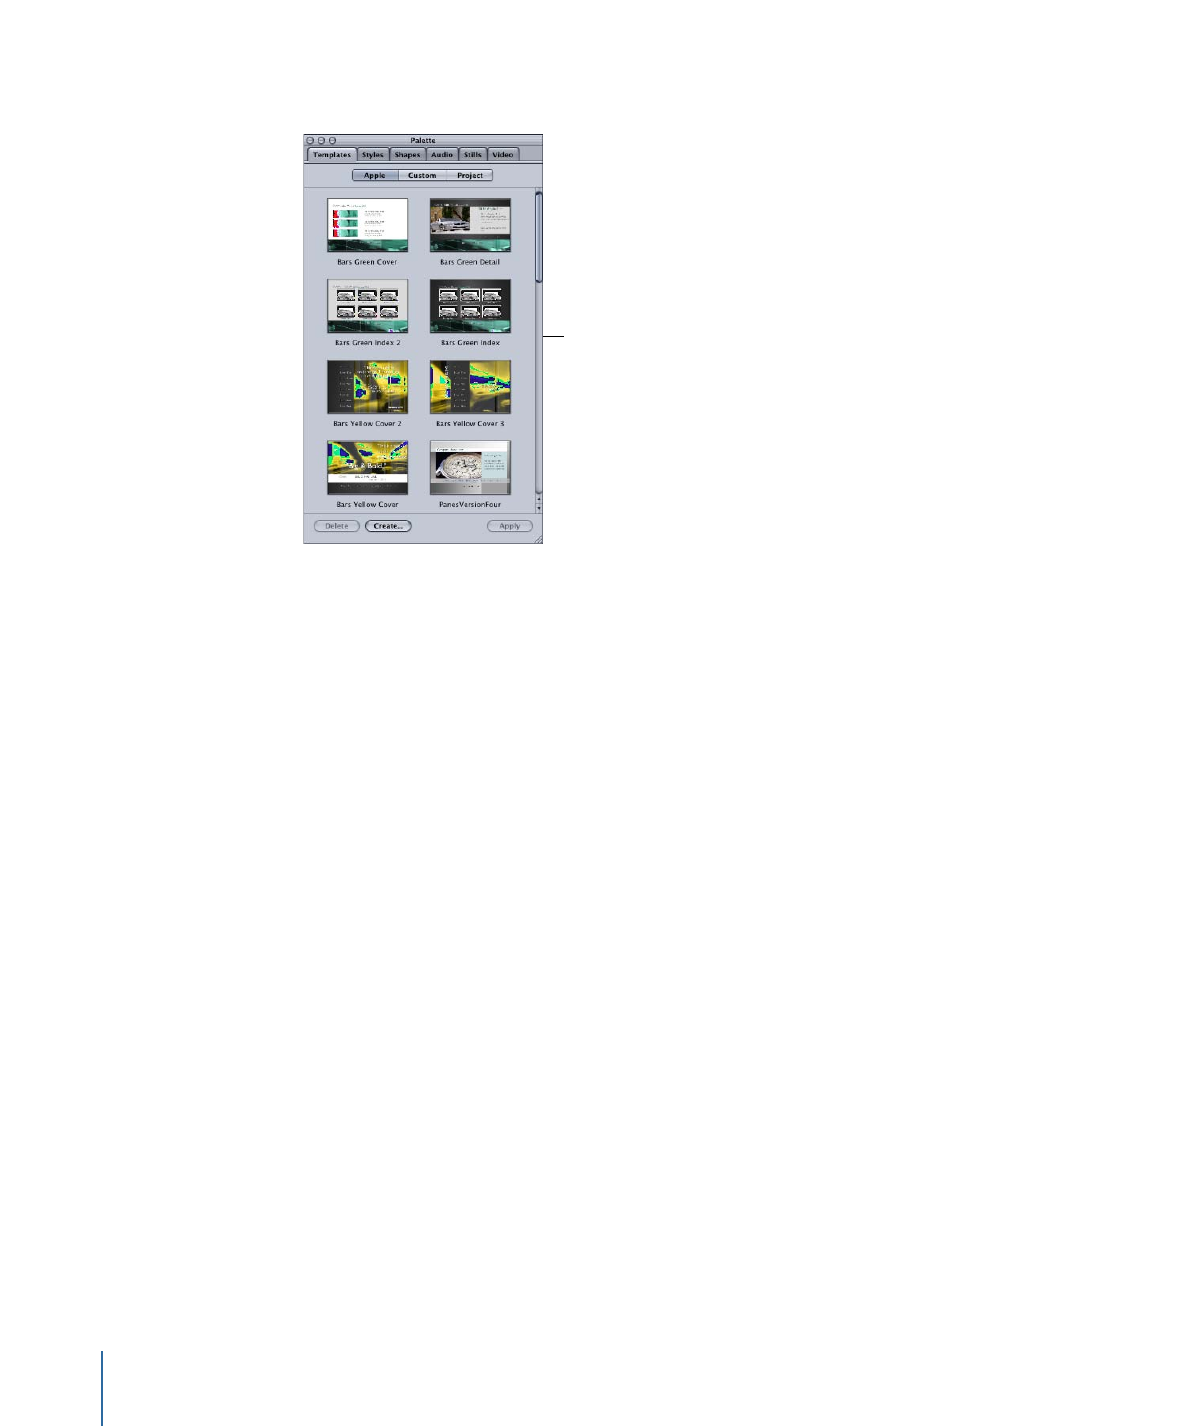
• The Inspector and Palette window arrangements, including whether they are visible,
their size, and their position
DVD Studio Pro includes several standard configurations you can choose from. These
configurations provide three levels of access to the features of DVD Studio Pro—basic,
extended, and advanced.
You can use these configurations as they are, perhaps adding a new tool to the toolbar
or another tab to a quadrant, or as a starting point for creating your own configurations.
152
Chapter 10
The DVD Studio Pro Interface

To choose a DVD Studio Pro configuration
µ
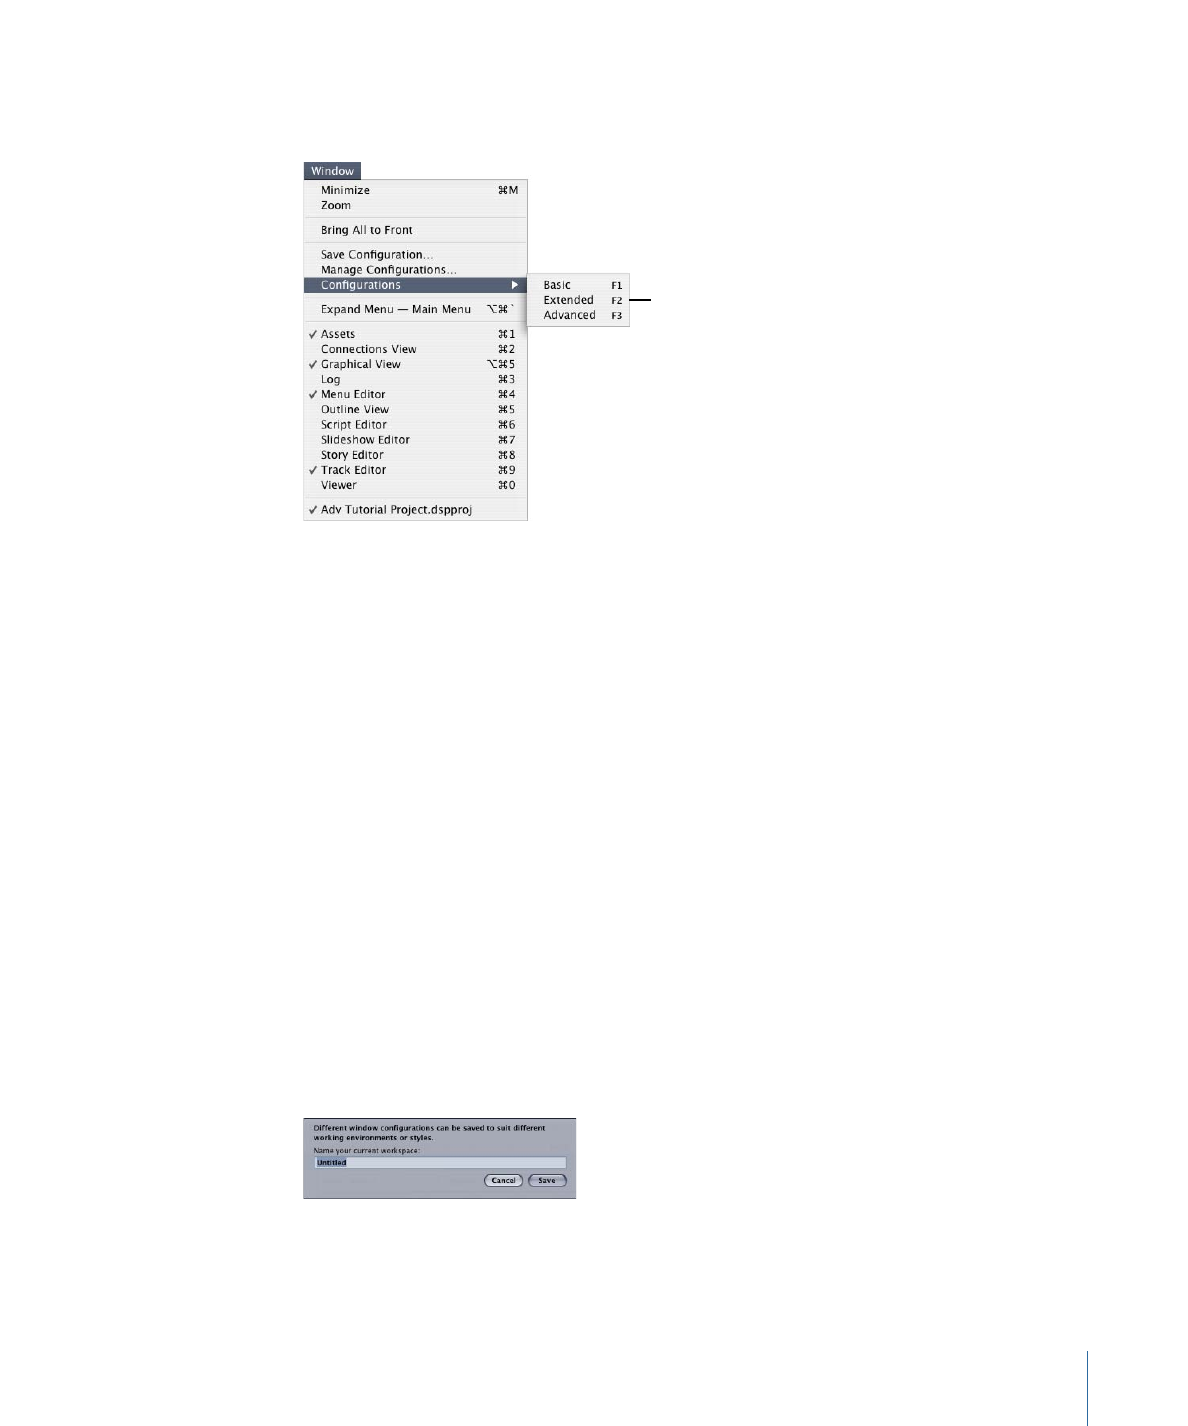
Choose Window > Configurations, then choose a configuration from the submenu.
Each standard configuration
has a keyboard shortcut
assigned.
The submenu lists the supplied configurations plus any that you have created. Each of
the first three supplied configurations are automatically assigned keyboard shortcuts F1
through F3. You can assign keyboard shortcuts for any custom configurations in the
Manage Configurations dialog.
Once you select a configuration, the DVD Studio Pro interface changes to the new settings.
You can make your own changes to the interface and save it as a new, custom
configuration.
To save a configuration
1
Configure the interface as needed, including the quadrants and their tabs, the toolbar,
the Inspector, and the Palette. See the following for more information:
•
Working with the Quadrants
•
Inspector
•
Palette
•
Toolbar
2
Choose Window > Save Configuration.
The following dialog appears.
3
Enter a name for the configuration.
4
Click Save.
153
Chapter 10
The DVD Studio Pro Interface

The new configuration is added to the list of configurations available to your system.
Note: To update a custom configuration, save the updated version using the original
version’s name.
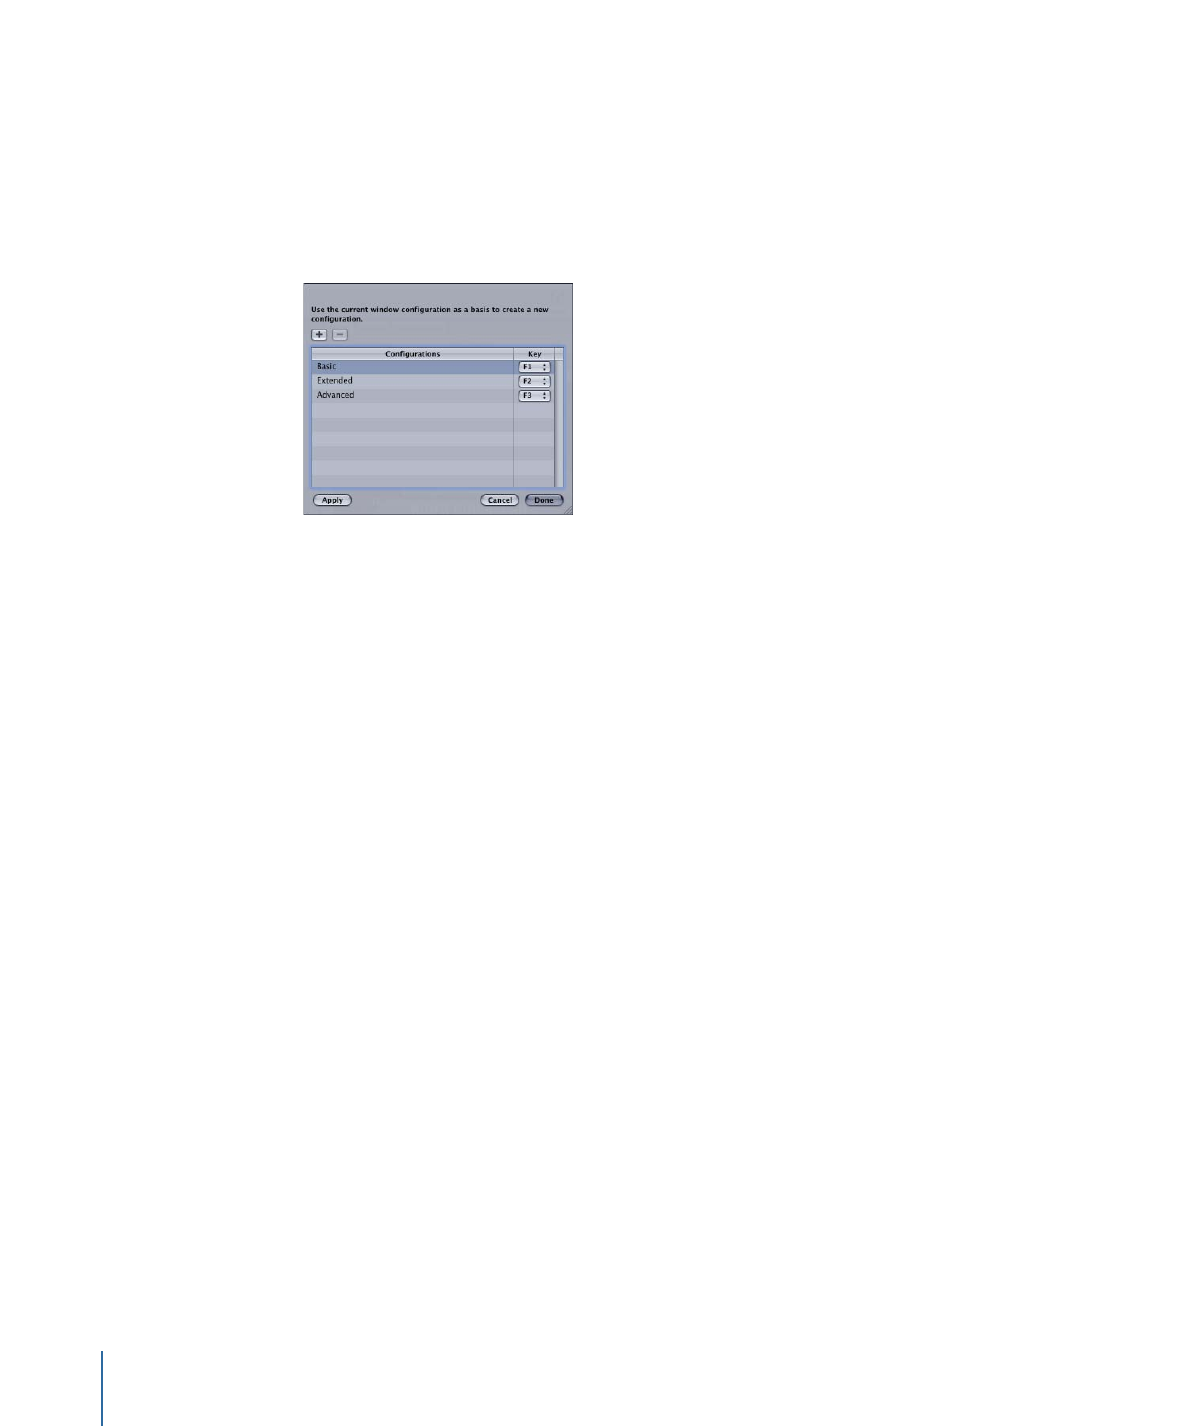
To manage your configurations
1
Choose Window > Manage Configurations.
A list of existing configurations appears. The Key column lists the “F” key assigned as each
configuration’s keyboard shortcut.
2
Do any of the following:
• Click the Add (+) button to add a new configuration.
• Delete a configuration by selecting it and then clicking the Delete (–) button.
• Rename a configuration by double-clicking it and entering a new name.
• Assign a keyboard shortcut to a configuration by choosing an “F” key from its Key
pop-up menu.
Important:
F9, F10, and F11 are used by default by the Mac OS X Exposé feature. You
can reconfigure them in System Preferences. F14 and F15 are used by Mac OS X to
control the monitor brightness.
• Apply a configuration by selecting it and then clicking the Apply button.
3
Click Done to close the dialog and save the changes.