Adding and Configuring Markers in Final Cut Pro and Final Cut Express
Using Final Cut Pro or Final Cut Express, you can add markers to a clip or to a sequence.
If you intend to export the markers for use with DVD Studio Pro, it is important that you
place the markers correctly.
• If you export a clip by selecting it in the Browser: The chapter and compression markers
can be exported.
• If you export a sequence by selecting it in either the Browser or the Timeline: Only markers
in the sequence are exported—markers in any clips in the sequence are ignored.
For details on adding markers to clips and sequences, see the Final Cut Pro User Manual.
The following instructions assume you are familiar with Final Cut Pro and Final Cut Express.
Note: The following instructions are for Final Cut Pro 4 through Final Cut Pro 5, and all
versions of Final Cut Express. If you are using a different version of Final Cut Pro, you may
have different choices.
To configure a marker in Final Cut Pro
1
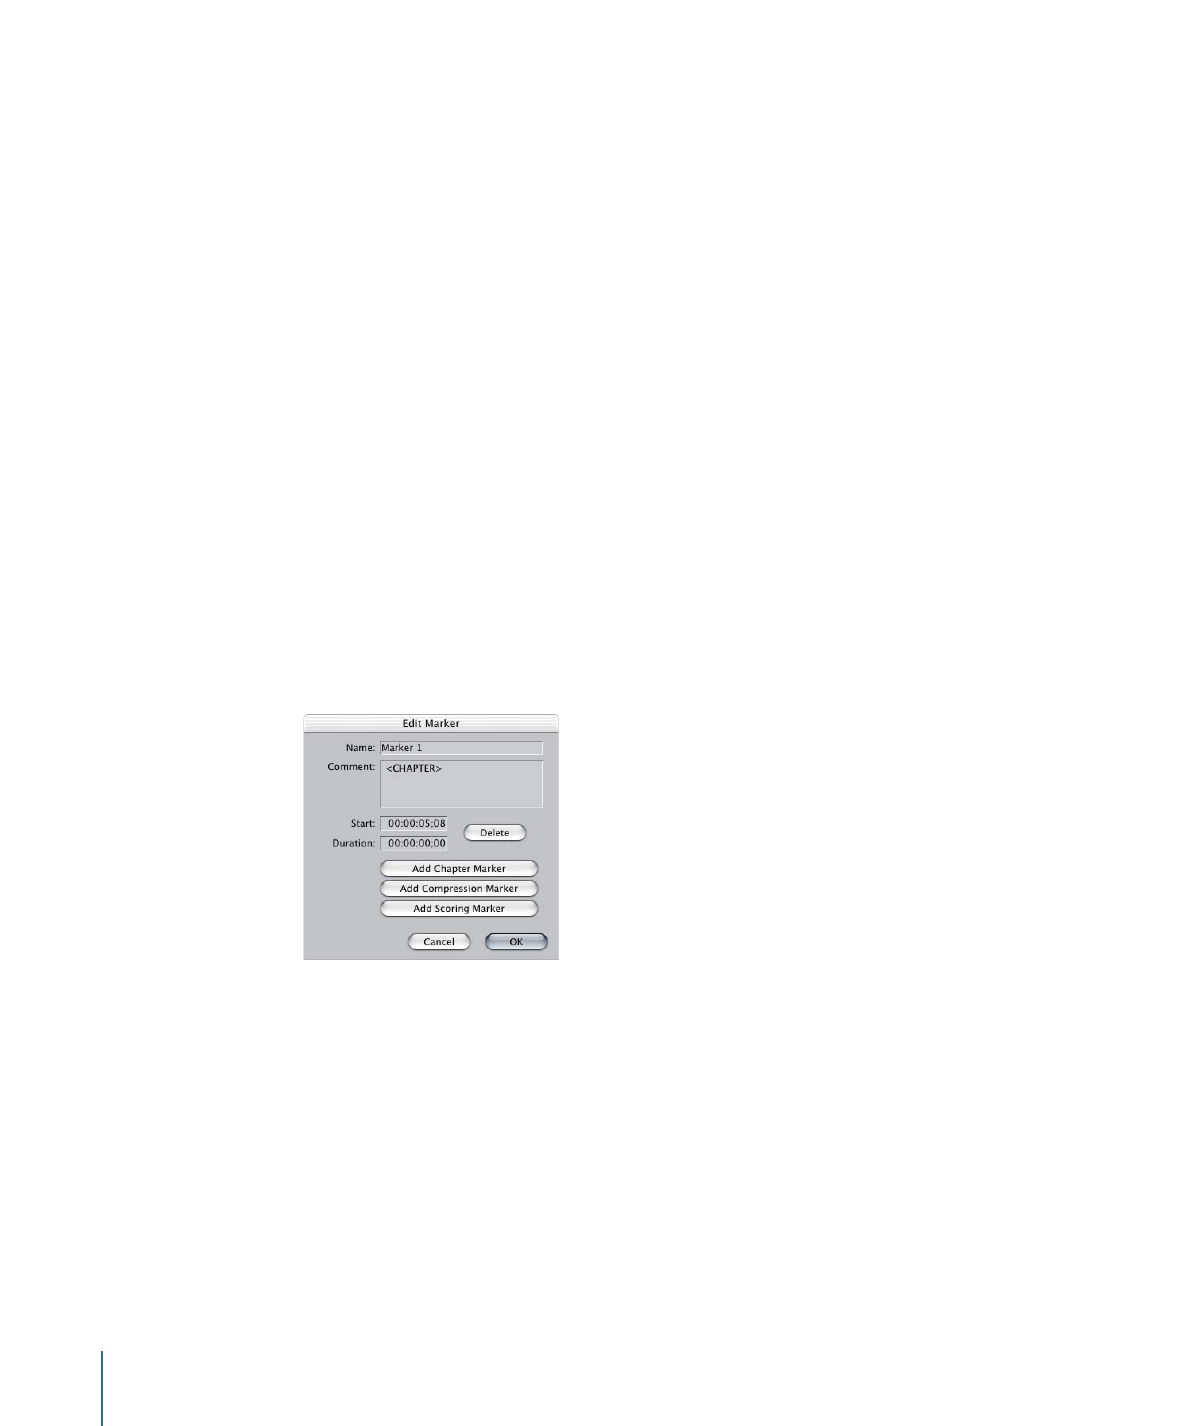
Select the marker and open the Edit Marker dialog.
2
Enter a name for the marker.
This is the name that appears in the Track Editor in DVD Studio Pro and can be used as
button text.
3
Click either Add Chapter Marker or Add Compression Marker.
Text is added to the Comment area.
Only chapter markers appear in DVD Studio Pro. Because each chapter marker forces an
I-frame at that location, it is unnecessary for you to add both marker types.
78
Chapter 4
Preparing Video Assets
To export a Final Cut Pro or Final Cut Express movie with markers
1
Do one of the following:
• If exporting a clip with markers: Select the clip in the Browser.
• If exporting a sequence with markers: Select the sequence in either the Browser or the
Timeline.
2
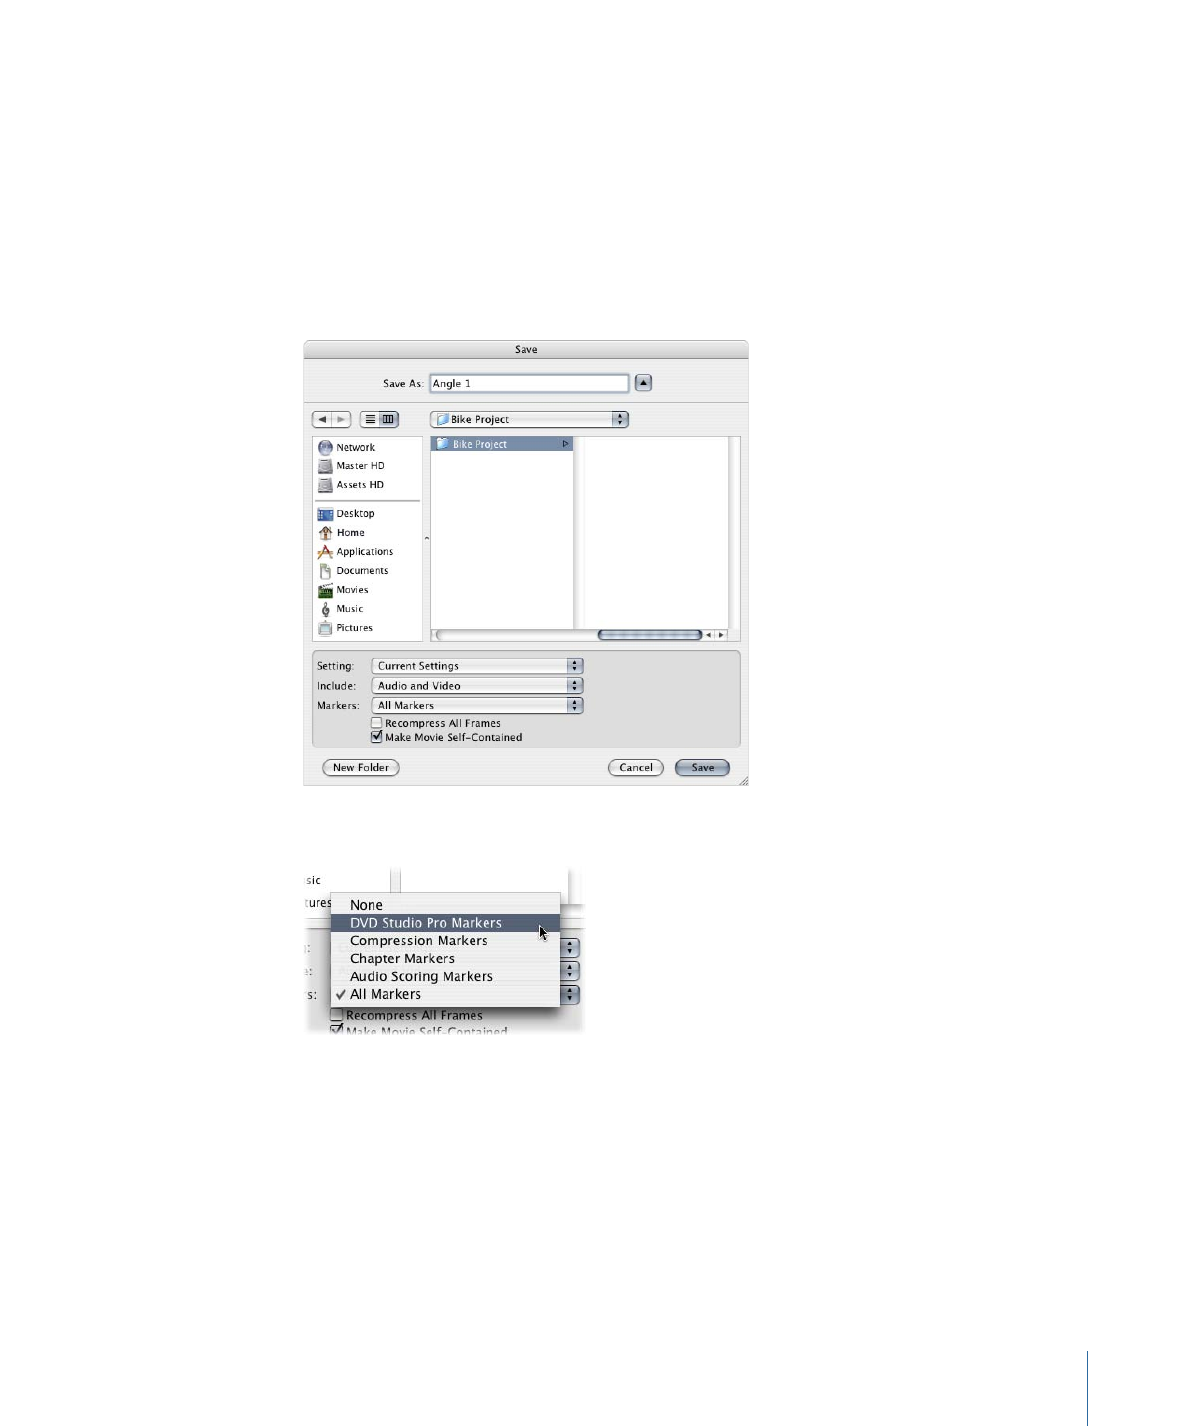
Choose File > Export > QuickTime Movie.
The Save dialog appears.
3
Choose the type of markers to export from the Markers pop-up menu.
Choose DVD Studio Pro Markers to export both compression and chapter markers, or
choose the type (compression or chapter) you want to export.
4
Ensure all other settings are correct, then click Save.
79
Chapter 4
Preparing Video Assets