Setting a Shape’s Opacity
DVD Studio Pro does not use the opacity settings you can apply to the layers within
Photoshop. As a result, you cannot use the second layer’s opacity setting to control the
transparency of the shape’s visible graphic. As an alternative, you can use Photoshop’s
merge capability to get the desired effect.
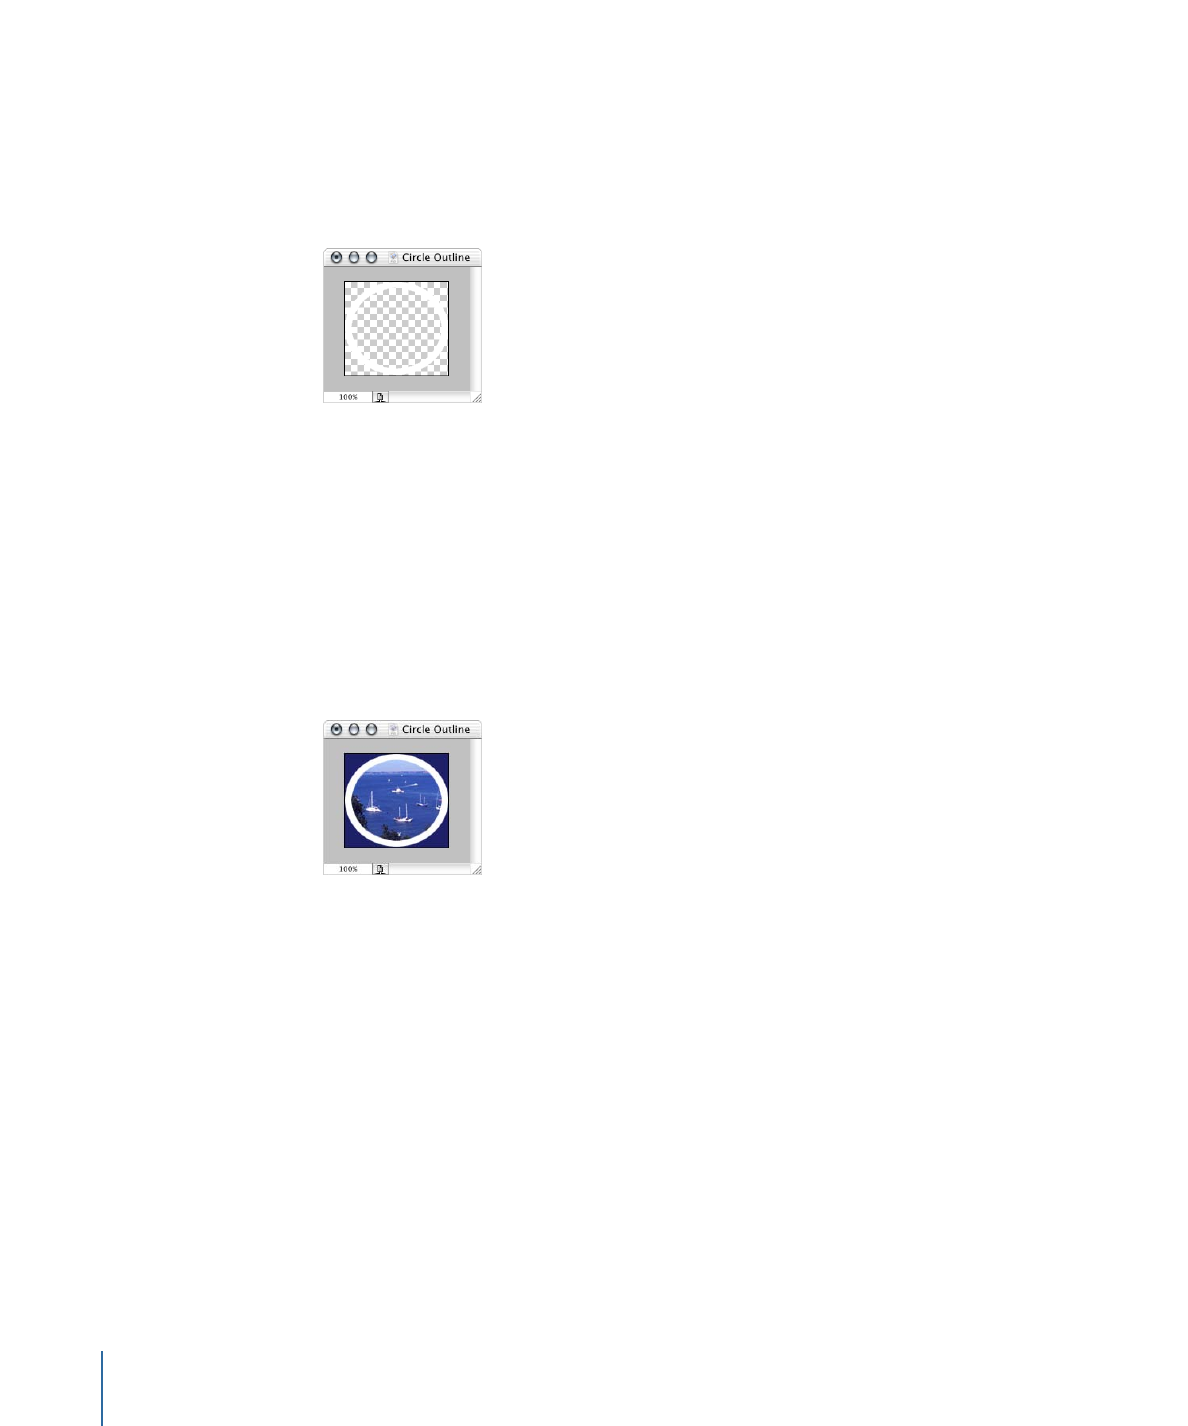
To set a shape’s opacity
1
Create the shape in Photoshop as usual.
It’s a good idea to save the shape at this point so that you can go back to it if you later
need to adjust the opacity or content.
2
Set the opacity for the second layer (the shape’s visible graphic).
3
Add a new layer to the graphic, and place it below the second layer. (It becomes the
second layer, and the second layer becomes the third layer.)
110
Chapter 6
Preparing Menu Assets

4
Select the original second layer (which is now the third layer).
5
Press Command-E to merge the selected layer with the new empty layer.
The two layers merge into a new second layer, and the original second layer is deleted.
When this shape is imported into DVD Studio Pro, this new second layer will use the
opacity you set before the merge.