Keeping Each Button’s Elements Together
When creating your menu in DVD Studio Pro, you draw a single box around all of the
elements for each button. The box identifies that button’s highlight area. In the above
example, you would draw a box around each button that includes its checkmark, the
main text, and the word “OK!” When you draw this box, no parts of any of the other
buttons should be included, or they will also appear with this button.
For example, instead of having an “OK!” after each line, you might want a single large
“OK!” on the right side. There’s no way to draw a box that would include both the button
name (“Play Movie,” for example) and the large “OK!” without including some of the other
button text, making this arrangement unusable.
Note: The Menu Editor has three color mapping sets that, in some cases, you can use to
work around this problem. See
Understanding Color Mapping
for more information.
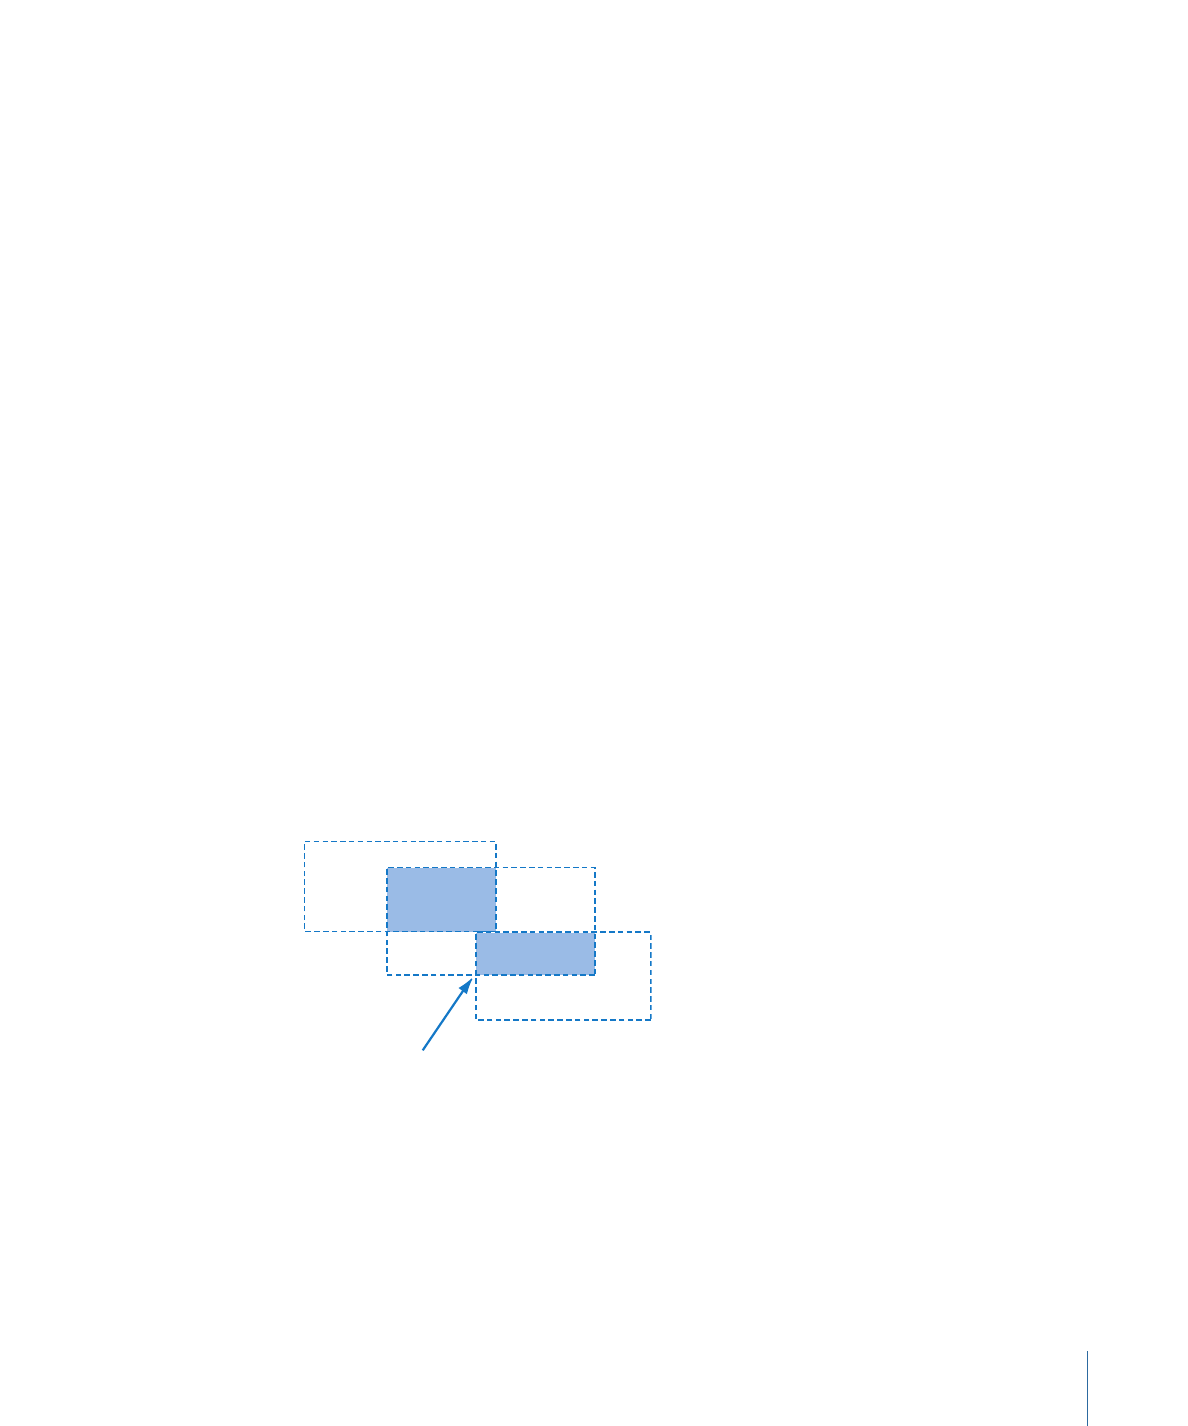
You also need to make sure none of the boxes overlap, because this can cause navigation
problems, especially when using a pointer to select the buttons while playing the disc
on a computer.
Active area overlap
Pla
y M
ovie
Scene S
elec
t
Slide
sho
w
105
Chapter 6
Preparing Menu Assets