
Menu Editor Pop-Up Menus and Tools
The Menu Editor tools let you customize the editor to your needs.
To show or hide the Menu Editor tools
µ
Click the dots at the bottom of the Menu Editor.
227
Chapter 12
Introduction to Creating Menus
Menu Editor Pop-Up Menus
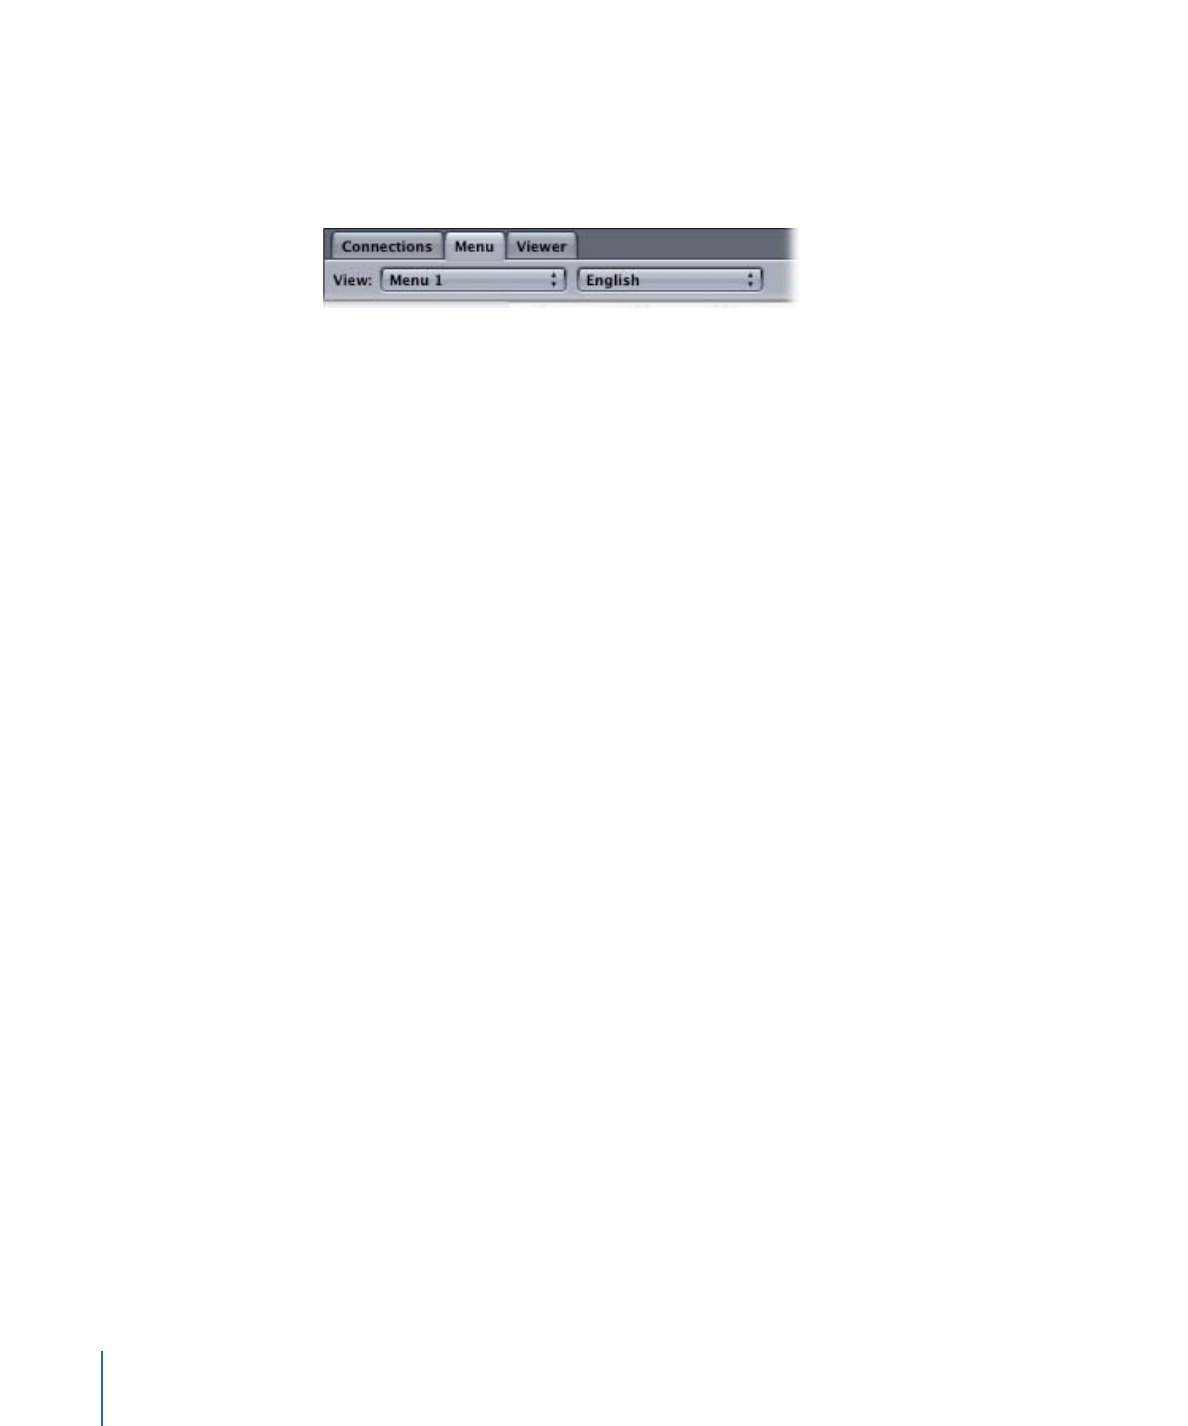
The top of the Menu Editor contains several pop-up menus.
• View: Choose the menu you want to open in the Menu Editor from this pop-up menu.
This is an alternative to selecting the menu in the Outline or Graphical tab.
• Language selection: Choose a language to configure for this menu from the pop-up
menu next to the View pop-up menu. See
Using Languages with Menus
for more
information.
• Settings: Contains a variety of settings that control what you see in the Menu Editor.
• Auto Assign Buttons Now and Auto Assign Buttons Continuously: You can choose to
have DVD Studio Pro automatically assign button navigation settings to the current
menu configuration or continuously. See
Configuring Button Navigation
for more
information.
• Display Background, Display Overlay, and Display Composite: You can choose to show
the background or overlay by itself or as a composite image. You can also press Q
to step through these options.
• Title Safe Area and Action Safe Area: These settings turn on a shaded area around the
outside edge of the menu, indicating portions of the menu that may not be viewable
on most consumer monitors. Placing buttons or text in these shaded areas can be
risky and should be avoided. There are two safe areas: title and action. The title safe
area is more constricted, and should be the boundary for items that must be seen
by the viewer. All text and buttons should be within this area. The action safe area
is closer to the menu edges, and is considered a boundary for items that you would
like the viewer to see but are not required. You can also press Command-E to show
or hide the title safe area, and Command-Option-E to show or hide the action safe
area.
• Square Pixels and Rectangle Pixels: You can choose to switch between viewing the
menu images with square pixels or scaled to the video aspect ratio (either 4:3 or
16:9). See
Understanding Pixel Differences in Graphics and Video
for more information.
You can also press P to toggle the pixel display type.
• Show Single Field: Optimizes playback when using field-based video sources. This is
especially important with video that has fast motion, because it reduces the motion
artifacts. However, selecting Show Single Field with frame-based video sources results
in reduced resolution (edges may appear jagged).
228
Chapter 12
Introduction to Creating Menus
Menu Editor Tools
The lower part of the Menu Editor contains a variety of buttons.
• Arrange controls: These buttons allow you to change the priority of the selected item,
letting you control which items have a higher priority by bringing them forward, or by
sending lower-priority items to the back. See
About Button Numbers
for more
information.
Brings the item
to the front, making
it the highest priority.
Sends the item’s
priority one step back.
Sends the item
to the back, making
it the lowest priority.
Moves the item’s
priority one step up.
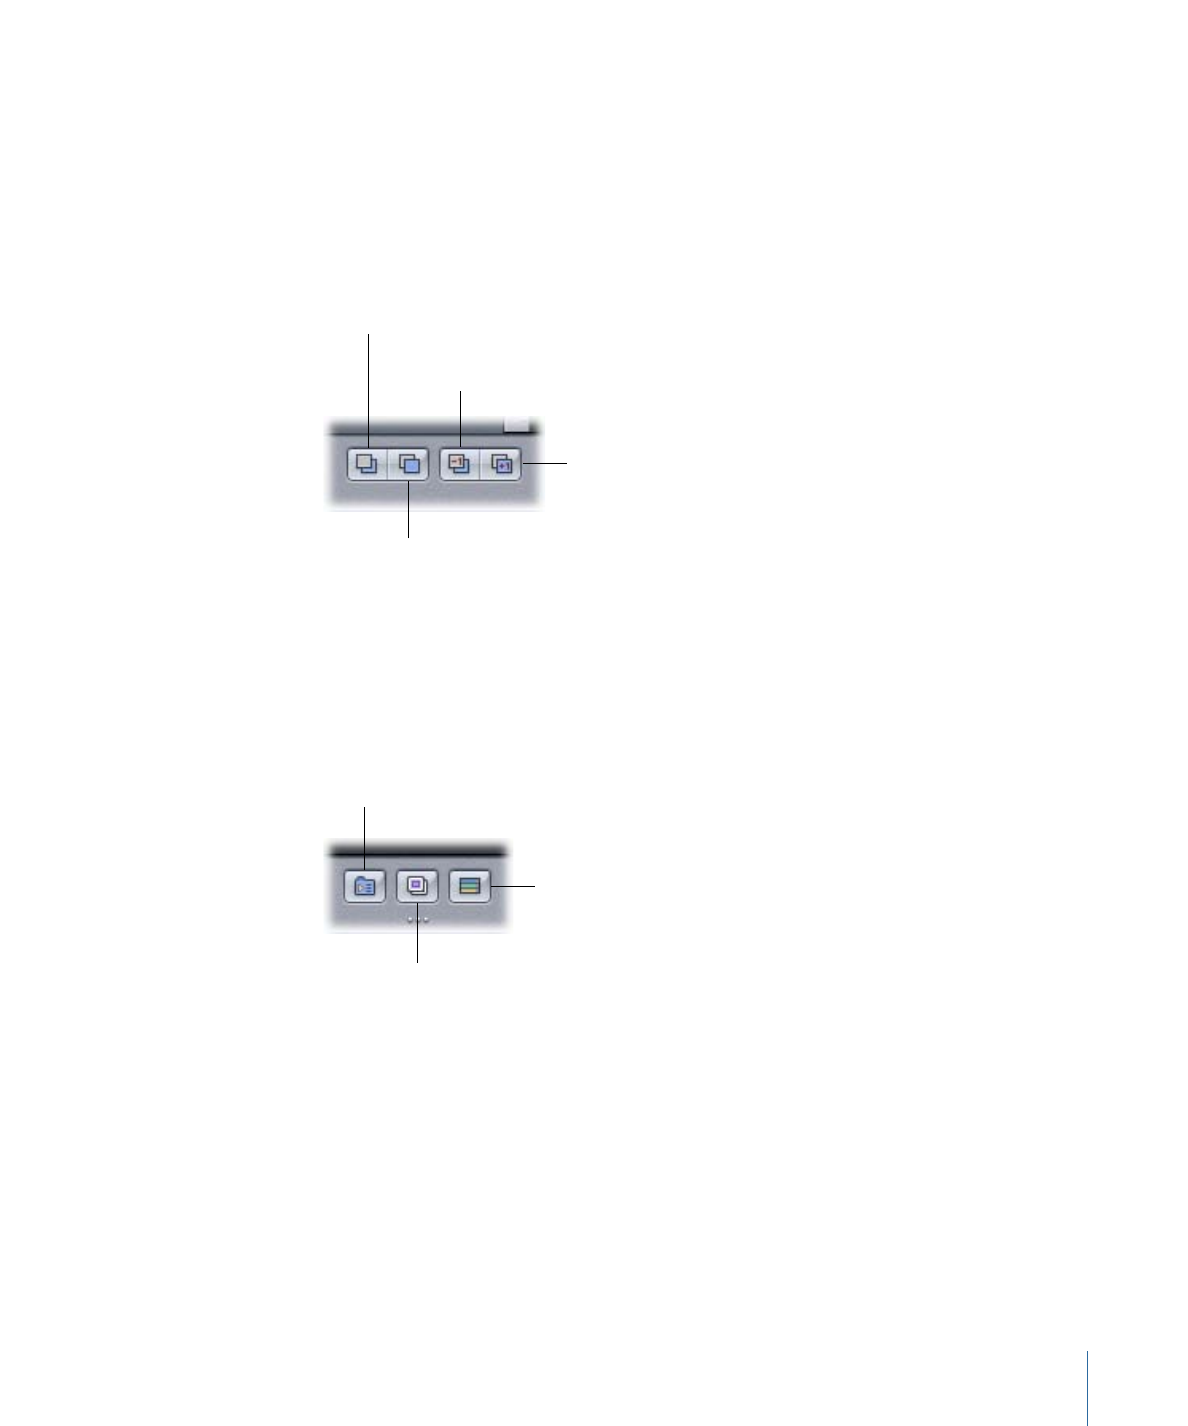
• Add Submenu, Add Slideshow, and Add Track buttons: These buttons allow you to create
a new element in your project and add a button to the current menu that connects to
them. You can also press Command-Option-Y to create a submenu, Command-Option-K
to create a slideshow, and Command-Option-T to create a new track.
Creates an empty
slideshow.
Creates an empty track.
Creates a submenu
that uses this menu’s
template.
The new button added to the menu uses the menu’s default button style. See
Setting
Default Styles
for more information.
229
Chapter 12
Introduction to Creating Menus

• Button state selections: These buttons allow you to see the selected button in any of
the three states (normal, selected, or activated). You can also press W to step through
these options.
Shows the selected state.
Shows the
activated state.
Shows the normal state.
• Button Outlines button: You can turn on button outlines, which show each button’s
active area box and the button name. When your menu has buttons without an asset
or shape assigned, turning off button outlines can make them disappear, which can
be confusing if you later forget they are there and add them again.
• Guides button: You can show or hide the menu guides created when you drag from
the rulers into the Menu Editor. This does not affect the dynamic guides that appear
when you drag items in the menu. See
Using Menu Guides
for more information. See
Alignment Preferences
for details on setting the menu guide preferences. You can also
press Command-Semicolon (;) to show or hide these guides.
Shows the menu guides.
Shows the button
outlines.
• Motion button: Applies to standard menus only. Use this button to start or stop playback
of video and audio assets assigned to the menu. This is useful for motion menus and
still menus that include audio, providing a preview of how the motion elements appear.
You can also press the Space bar or Command-J to turn the motion on and off.
Note: The Motion button in DVD Studio Pro does not work the same way as the similar
button in iDVD. In DVD Studio Pro, the Motion button does not have to be active to
create a motion menu. It does not affect how the menu will appear when you finish
the project and build the title.
230
Chapter 12
Introduction to Creating Menus