Using Simple Overlay Color Mapping
Simple overlays have one color setting for each button state (normal, selected, and
activated). All white areas of the overlay graphic are automatically set to be
transparent—all black areas become a highlight area. You can use palettes and color
mapping sets with a simple overlay.
The following steps show you how to set up color mapping for a menu when using a
simple overlay. Once you start creating buttons (described in
Adding Buttons to Your
Menu
), you will be able to select the color mapping sets for them.
To set up color mapping for a menu using a simple overlay
1
Select a menu that has a background and overlay assigned.
The Menu Inspector appears.
2
Click the Colors tab in the Menu Inspector.
3
Select Simple next to Overlay Colors.
4
In the Menu Editor, choose Display Composite from the Settings pop-up menu to see
the normal color settings take effect as you set them. (You will not see the selected and
activated settings take effect until you start creating buttons.)
5
Set the color and opacity settings for the normal selection state.
• To choose the color: Open the Color pop-up menu and choose a color from the 16-color
palette that appears.
251
Chapter 13
Creating Menus Using the Standard Method

• To set the opacity: Either enter a new value in the fields to the right of the Opacity slider,
or drag the sliders. The values range from 0 (completely transparent) to 15 (completely
opaque).
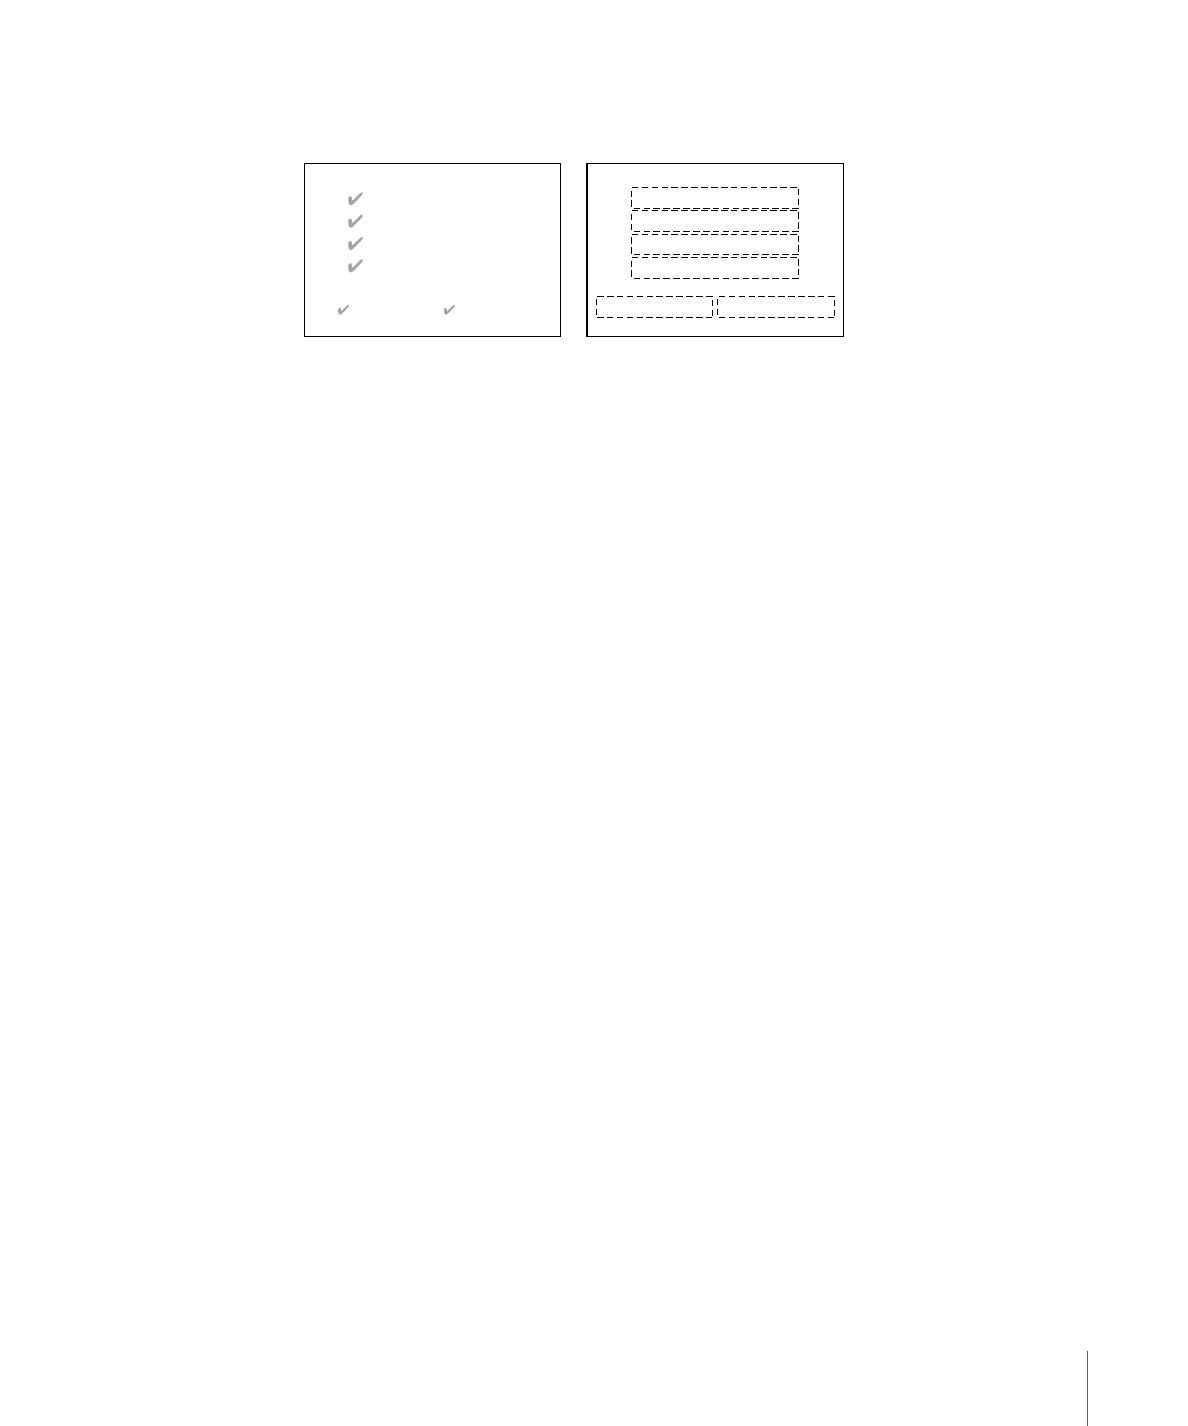
Select Simple or Advanced,
depending on the overlay
you are using.
Select the color mapping
set to configure.
Set the highlight’s
opacity.
Choose a color for
each button state.
Set the normal color settings based on whether the background includes the normal
button graphics.
• If the normal button graphics are included in the background: Set the opacity for the
Normal color to 0 (completely transparent).
• If the normal graphics are not included in the background: Set the opacity and select the
color so that the buttons appear as intended.
6
Select Selected and Activated under Selection States and set the highlight color settings
for the selected and activated states.
You will not see any of these settings take effect until you start creating buttons. You can
configure the settings for all three of the color mapping sets by selecting their buttons
(1, 2, and 3).
Note: If you set the Normal opacity to 15 and see other colors around the edges of items
in the overlay graphic, the graphic has anti-aliased edges. To prevent the extra colors
from appearing, you should either correct the overlay graphic or use the advanced overlay
method.