
Using an Advanced Overlay to Support Anti-Aliasing
Instead of using the advanced overlay’s four colors to create multiple color highlights,
you can use them to create pseudo-soft edges and take advantage of anti-aliased graphics.
This requires you to use the grayscale method, using either white elements on a black
background or black elements on a white background. The soft or anti-aliased edges are
mapped to the dark and light gray overlay colors. By mapping the same color to each
overlay color, but at reduced opacities on the dark and light gray overlay colors that occur
at the edges, you can effectively simulate soft or anti-aliased edges.
To configure an advanced overlay for anti-aliased edges
1
Select a menu that has a background and overlay with anti-aliased edges assigned.
The Menu Inspector appears.
2
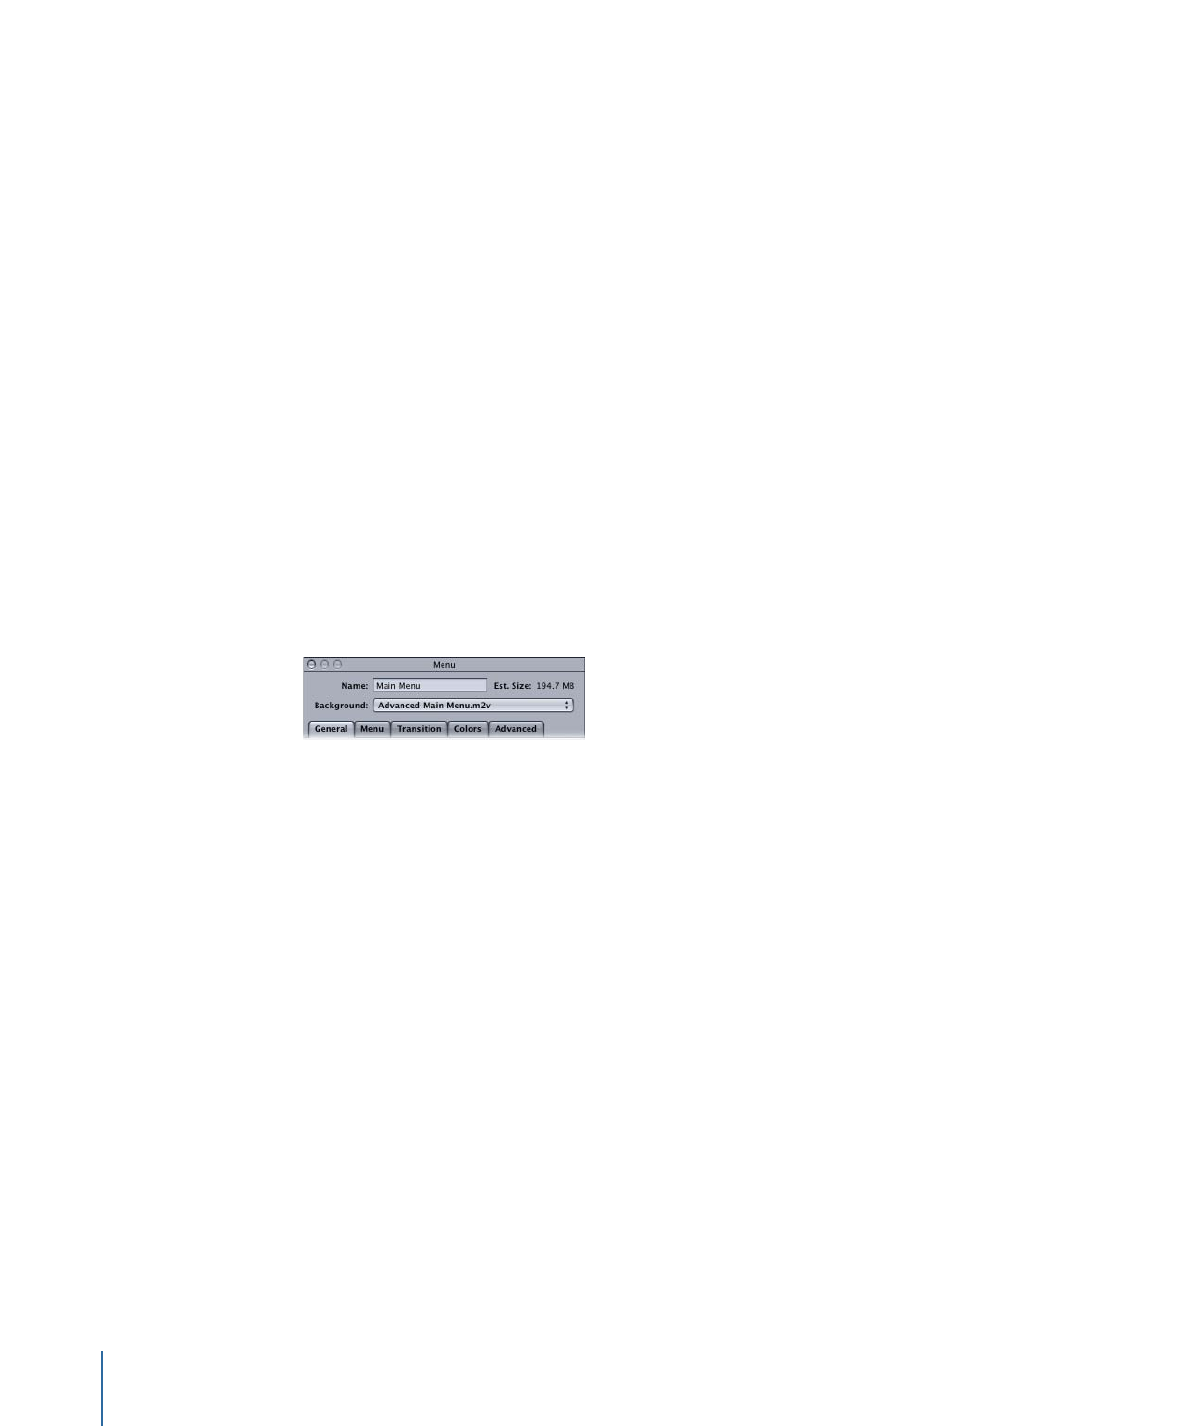
Click the Colors tab in the Menu Inspector.
3
Select Advanced next to Overlay Colors.
4
Set the Mapping Type to Grayscale.
5
Select Normal under the Selection State.
6
In the Menu Editor, choose Display Composite from the Settings pop-up menu to see
the normal color settings take effect as you set them. (You will not see the selected and
activated settings take effect until you start creating buttons.)
7
If the overlay should appear in the normal selection state, set the color and opacity settings
as follows:
• Choose the same color from the Color pop-up menus for each of the overlay colors.
• Set the opacity for the primary overlay color (usually black) to 15.
• Set the opacity for the next overlay color (dark gray) to 10.
• Set the opacity for the next overlay color (light gray) to 5.
255
Chapter 13
Creating Menus Using the Standard Method
If the overlay should not appear in the normal selection state, set the opacity settings to
0 for each overlay color.
8
Select Selected and Activated under Selection State and set the highlight color settings
for the selected and activated states. Set the color and opacity settings using the same
method used in step 7. You will not see these settings take effect until you create buttons
on the menu.