Differences Between Simple and Advanced Overlays
The simple and advanced overlays differ primarily in how they use the overlay file.
• For simple overlays: The color white in the overlay graphic is set to be transparent—this
cannot be changed. The only other color allowed is black. If you add a graphic element
that has a soft glow or has been anti-aliased, the areas that are not black or white
appear with additional highlight colors (controlled by the advanced overlay color
mapping settings). You get to choose a highlight color and its transparency for each
of the three button states (normal, selected, and advanced). See
Creating Simple
Overlays
for more information.
• For advanced overlays: You can use up to four colors when creating your overlay graphic.
When setting up the color mapping, you assign a highlight color and transparency to
each of the four overlay colors, for each of the three button states. This allows you to
create much more varied looks to the menu. For example, you do not need to make
all highlight colors for a button the same color. Using an advanced overlay can also
allow you to take advantage of anti-aliased edges.
248
Chapter 13
Creating Menus Using the Standard Method

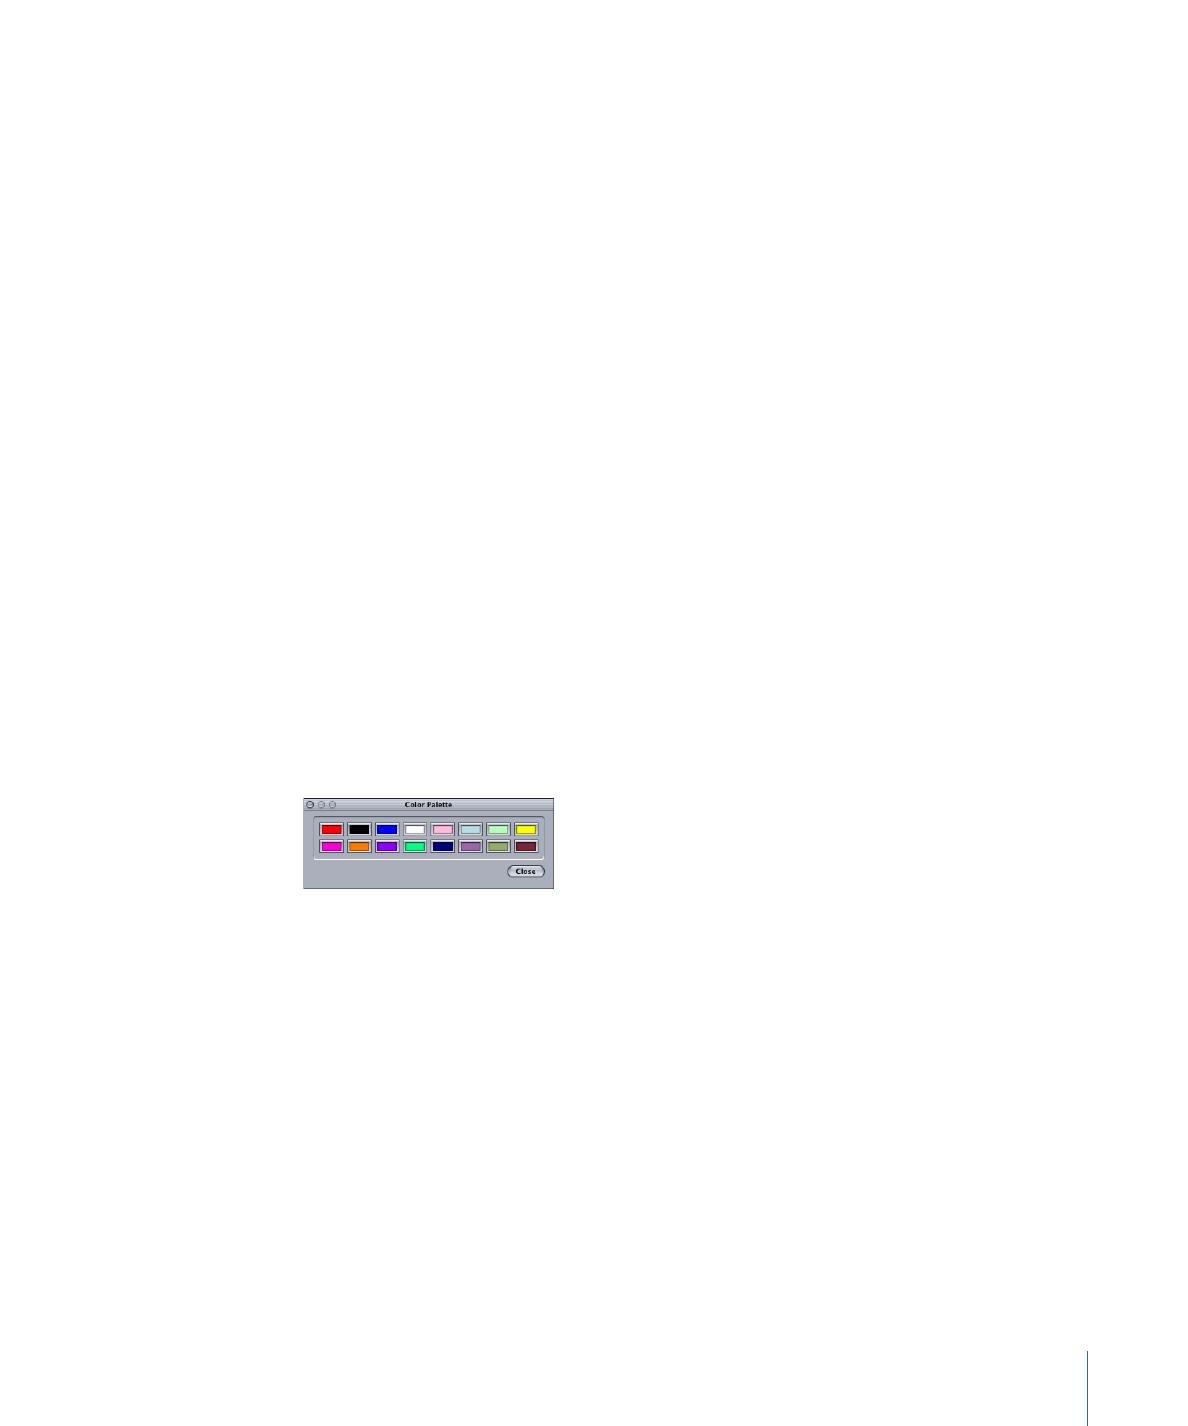
Both simple and advanced overlays use the same color mapping palette and color mapping
sets. When you map a color in a simple overlay, you are also mapping the color to the
black overlay color in the advanced overlay.
You can use simple overlay mapping for some buttons and advanced overlay mapping
for other buttons on the same menu.