Setting Button Navigation Manually by Dragging in the Menu Editor
You can set button navigation in the Menu Editor by dragging a button’s edge to the
button that it should navigate to. Each edge of a button corresponds to an arrow button
on a remote control. For example, dragging the right edge of a button determines what
will happen when you press the Right Arrow button.
To set button navigation by dragging button edges
1
Select the button whose navigation you want to set.
The active area rectangle appears around it.
2
Hold down the Option and Command keys and click the resize handle on the edge you
want to set. For example, click the right edge to set the right-arrow jump for the button.
3
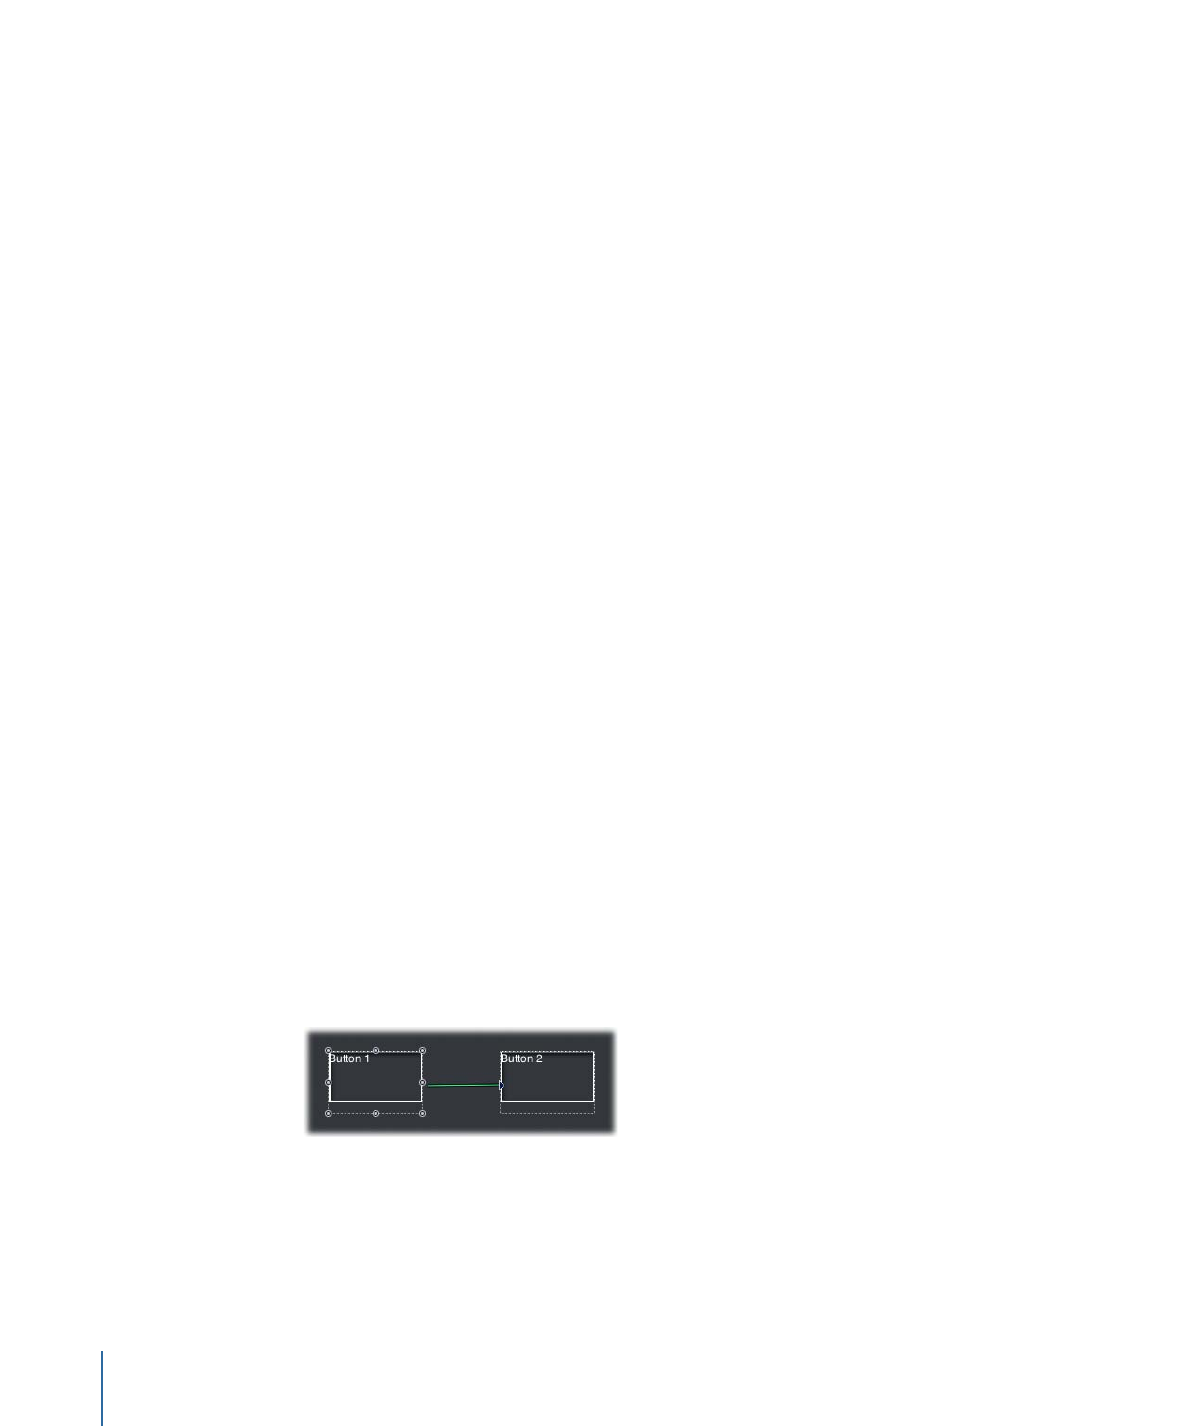
Drag from the resize handle to the button you want to link to. A line appears to indicate
which edge you started at.
4
As you drag, the line’s color changes from white to green once you reach a button’s active
area. When the line is green, release the mouse button to make the connection.
Once the connection is made, the line disappears.
282
Chapter 13
Creating Menus Using the Standard Method

The biggest drawback to setting navigation this way is that, unless you verify the
connections carefully, you can easily miss setting all four edges of all buttons, resulting
in some peculiar navigation.