Viewing the Selected and Activated States
You can view the highlights for all three button states when you have a button selected.
This makes it easy to see how the color mapping settings interact with the overlay.
To view and set highlights for a button
1
In the Menu Editor, choose Display Composite from the Settings pop-up menu.
The Menu Editor displays both the background and the overlay based on the color
mapping settings.
2
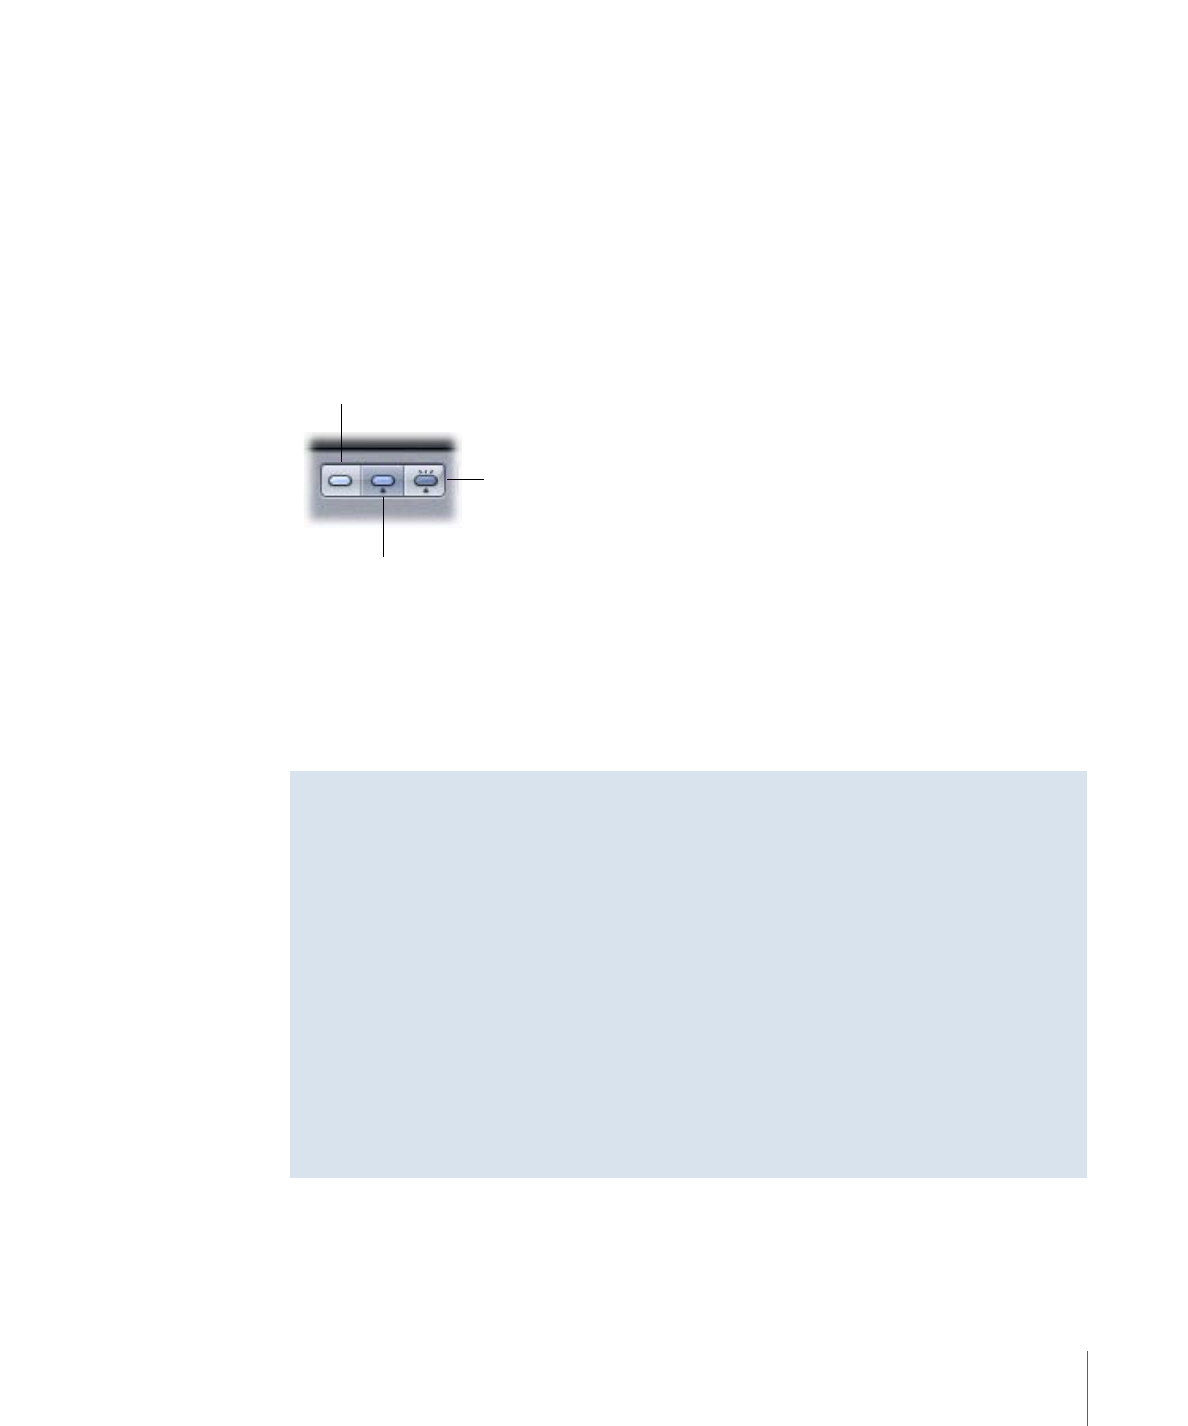
Use the Menu Editor’s button state buttons to select the state (normal, selected, or
activated) to display.
Shows the activated state.
Shows the selected state.
Shows the normal state.
3
With the button state set to either selected or activated, select Highlight Set 1, 2, or 3 in
the Style tab in the Button Inspector to select the color mapping configuration to apply
to the current button.
Note: The Set 1, 2, and 3 buttons in the Button Inspector’s Colors tab are for configuring
the sets. They do not apply the sets to the current button.
Why Don’t Highlight Colors Appear Without an Overlay?
In earlier versions of DVD Studio Pro, you could see the selected and activated highlights
in the active area rectangle even without an overlay. This made it easy to create a menu
by just creating underlines (which were short and wide active areas) that showed the
selected and activated highlights.
The shapes feature of DVD Studio Pro 4 includes a SimpleButton shape that you can
use to create these same types of highlights. By applying the SimpleButton shape to
the first button active area you add to a menu, and then setting that button to be the
menu’s default, all subsequent buttons will automatically have the SimpleButton shape
and will show the selected and activated highlights.
See the following section,
Adding Shapes to a Menu
, for information on applying shapes,
and
Setting Default Styles
for information on defining a menu’s default button style.