
Configuring a Layered Button
Configuring a layered button is a matter of selecting layers in the menu’s PSD file to
display in the three button states (normal, selected, and activated).
To configure a layered button
1
Click in the button’s active area.
343
Chapter 15
Creating Menus Using the Layered Method
The Button Inspector appears.
2
Set the button’s connection by choosing an element from the target pop-up menu in
the top section of the Button Inspector.
3
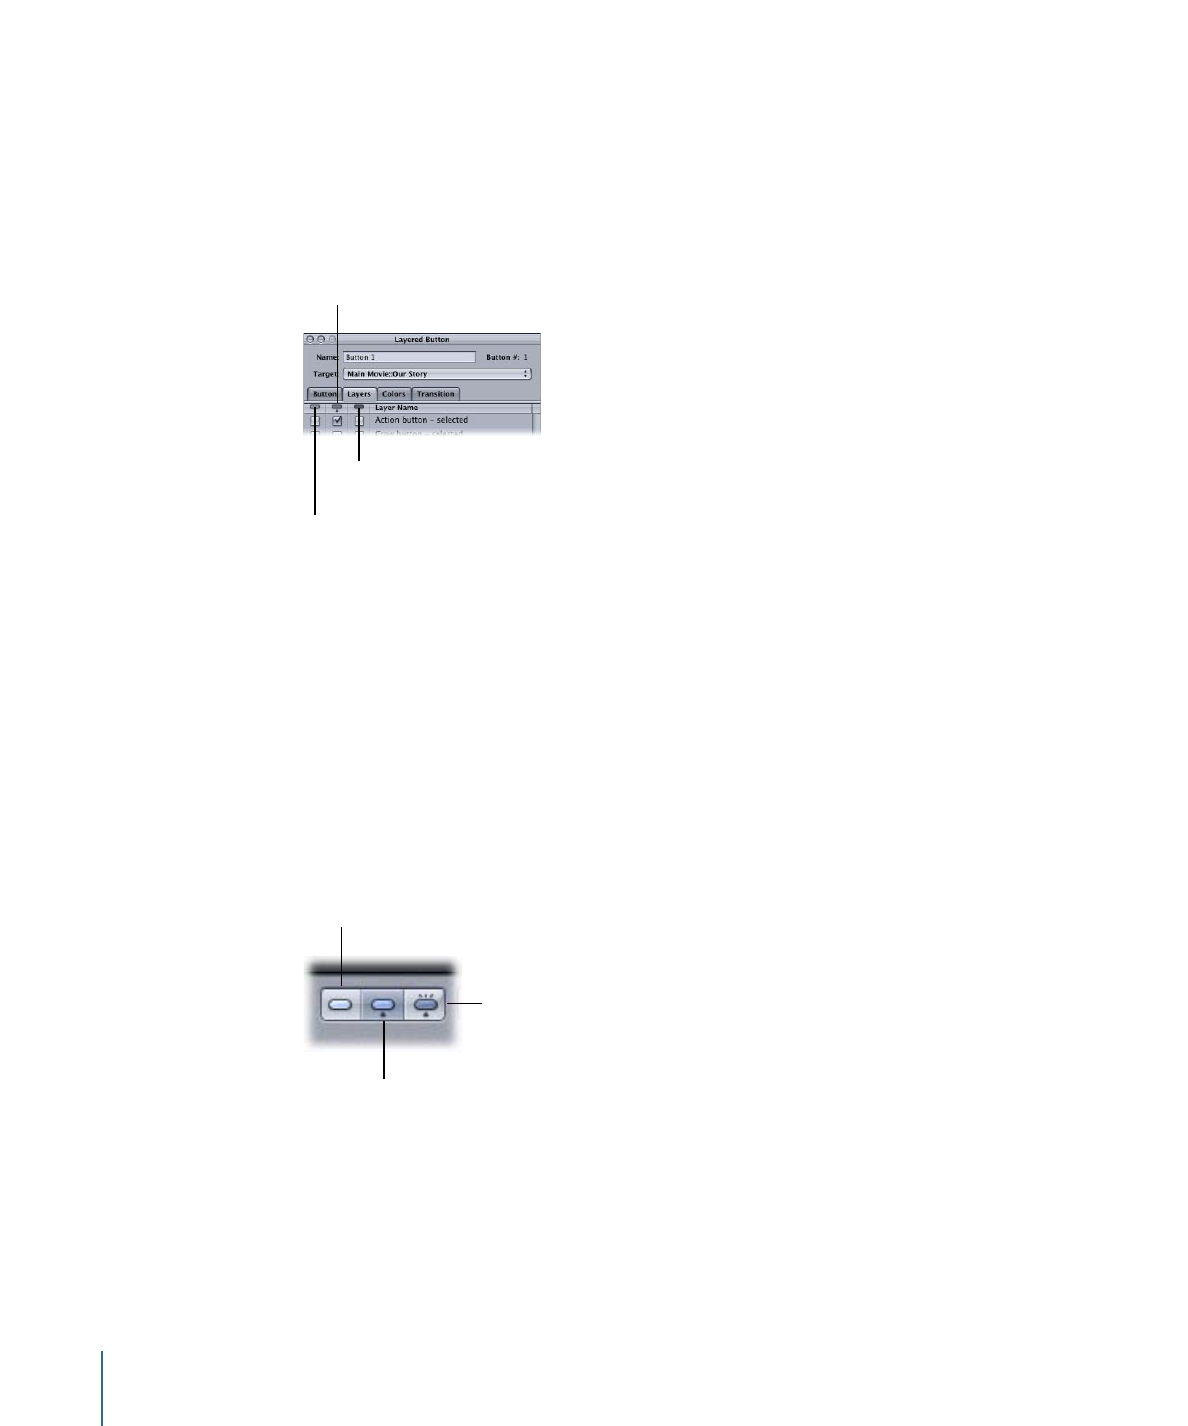
Click the Layers tab.
A list of all layers in the PSD file appears.
The normal button
state column
The selected button
state column
The activated button
state column
4
Select the checkbox in the Normal column next to the layer to display when this button
is not selected or activated. You can select more than one layer.
If the normal state for the button is already part of the background, you do not need to
select layers in the Normal column.
5
Select the checkbox in the Selected column next to the layer to display when this button
is selected. You can select more than one layer.
6
Select the checkbox in the Activated column next to the layer to display when this button
is activated. You can select more than one layer.
7
To verify the layer settings, use the Menu Editor’s button state icons to select the state
(normal, selected, or activated) to display.
Shows the selected state.
Shows the
activated state.
Shows the normal state.
You need to repeat this process for each layered button in your menu.