Trimming and Positioning Clips
There are several methods you can use to trim and position a stream’s clips within the
Track Editor.
To trim a stream’s clip by dragging
1
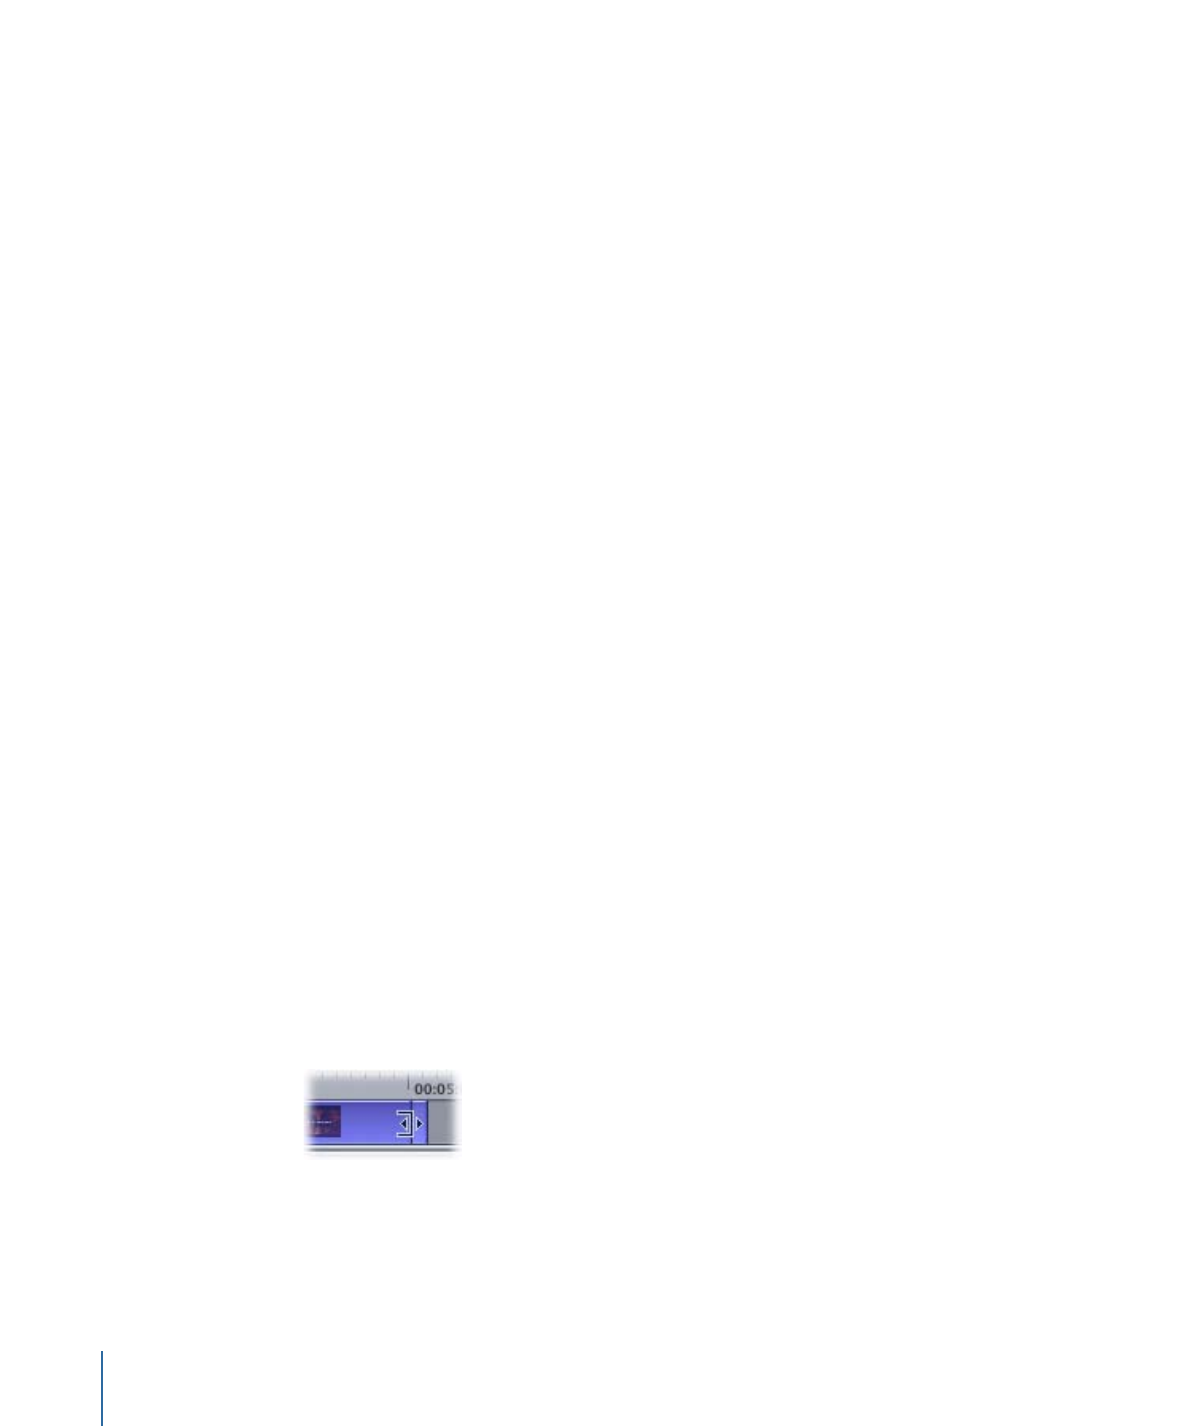
Position the pointer over the end of the clip you want to trim. The pointer changes to a
bracket with an arrow pointing in the direction you can trim.
2
Drag the clip’s edge to its new position.
Note: You cannot trim a clip beyond the edges of the asset.
390
Chapter 17
Creating and Editing Tracks

To help guide you when trimming your clip, drag the playhead to the point you want to
edit to. A vertical line appears across all streams, which you can use as a guide to trim an
edge to. Be sure to use the timeline zoom feature to provide a close-up view of the area
you’re editing.
Use care not to lose your video and audio synchronization when trimming. Instead of
dragging, you can enter values in the Start and End boxes at the top of the Track Editor
and the Duration and Clip Start Offset entries in the Clip Inspector to trim a clip more
precisely so that you can repeat exactly the trim on other clips.
To use the start and end values to position and trim a clip
1
Select the clip you want to trim. Its start and end values appear in the Track Editor’s Start
and End boxes.
2
Enter a new Start time. The beginning of the clip moves to that time.
This moves the entire clip, but does not actually trim it.
3
Enter a new End time. The end of the clip is trimmed to that time.
To use the Clip Inspector to trim a clip
1
Select the clip you want to trim.
The clip appears in the Clip Inspector.
2
Enter a new Clip Start Offset to trim the clip’s start.
The clip’s start position on the timeline is not changed—only its end position is moved
to match its new duration.
3
Enter a new Duration value to trim the clip’s end.